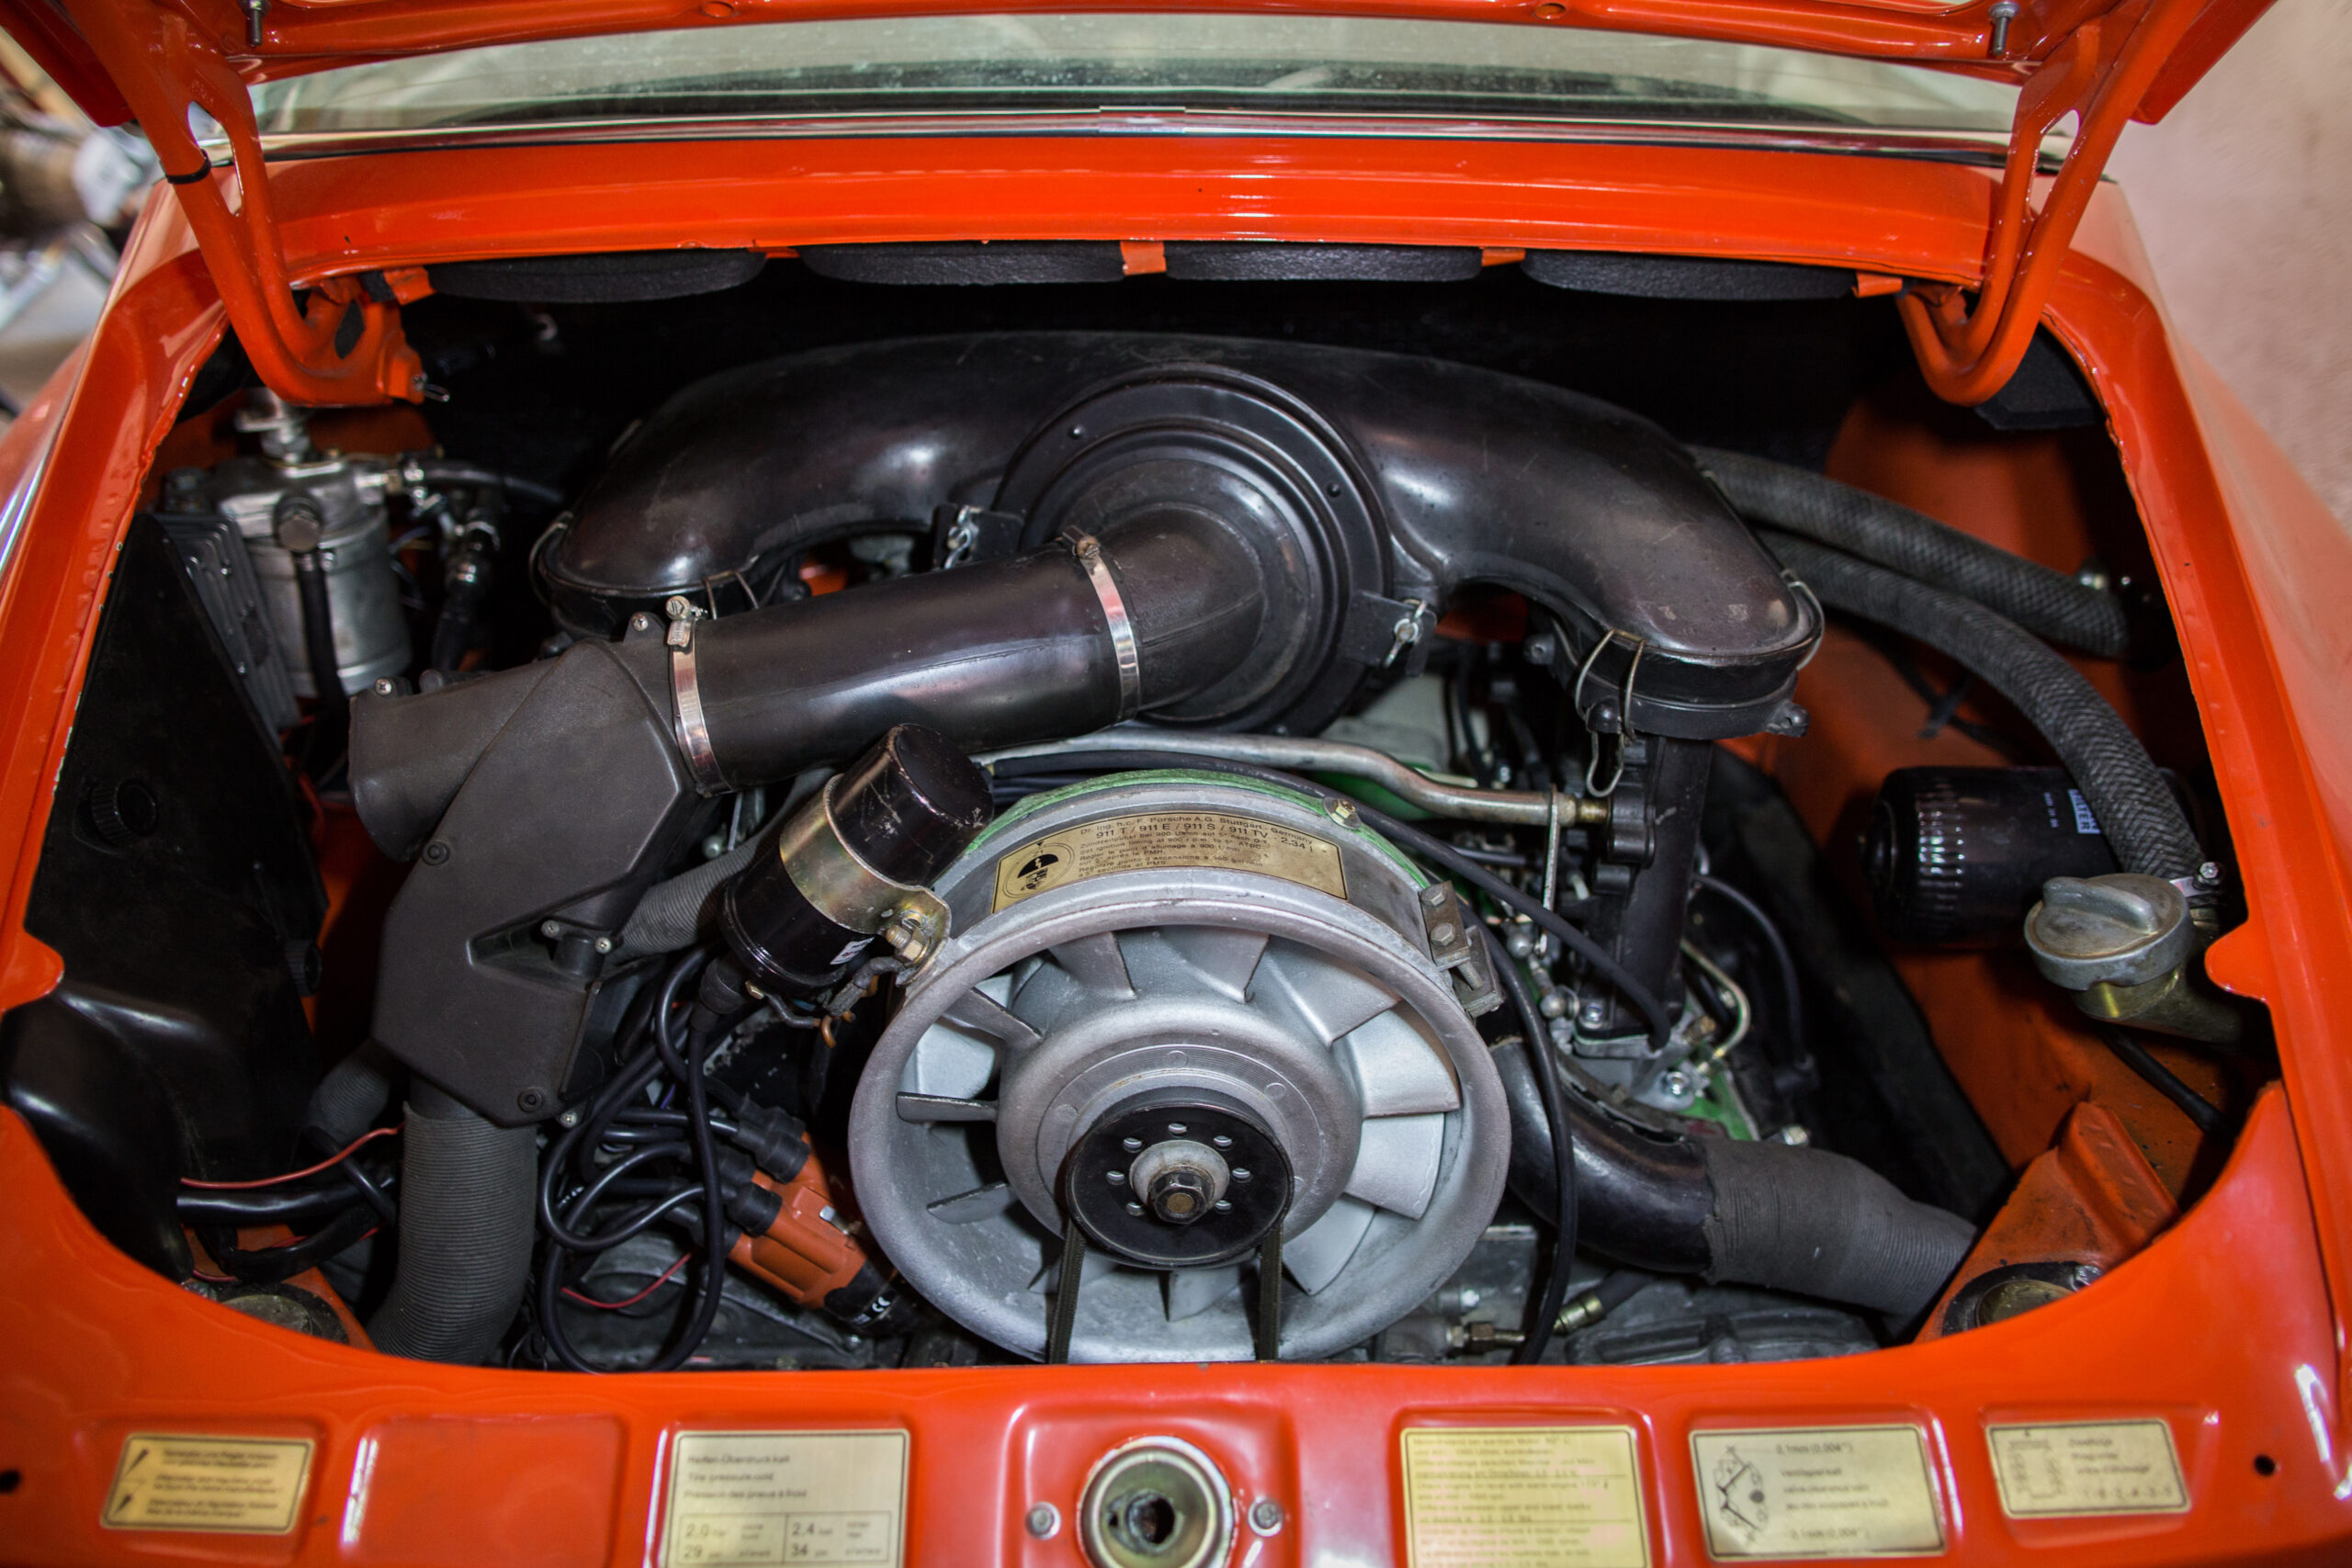
Some day a close relative contacted me and told me about a problem with his Porsche 911F Targa, built in 1971 and laboriously restored over the course of a few years. It is a great car, but when driving longer distances, the engine sometimes suddenly stuttered and the car slowed down. A few minutes later everything worked as before and was a great roofless experience again.

Now you might first expect the electronics to have some loose contact, causing the absence of ignition sparks. However checking all those “it must be this!”-suspects you might think of first, it turned out that it has to be the fuel pump or the injection valves. Those parts you cannot simply test for their function while on a trip, be it in the middle of a city crossroad or on a lonesome country road. So we needed some measurement device, showing the needed information just while the problem occurs.
The main suspect: the ~1000 € fuel pump – which should produce around 1.0-1.2 bar – drops out and the valves do not get enough fuel anymore… Really? Maybe there is still an undetected issue with the mechanical fuel injection valves… or is it something totally different? As the pump, oh wait, quite *everything* under suspicion is rather expensive, we should first try to nail it down a bit more, starting with measuring the fuel pressure.
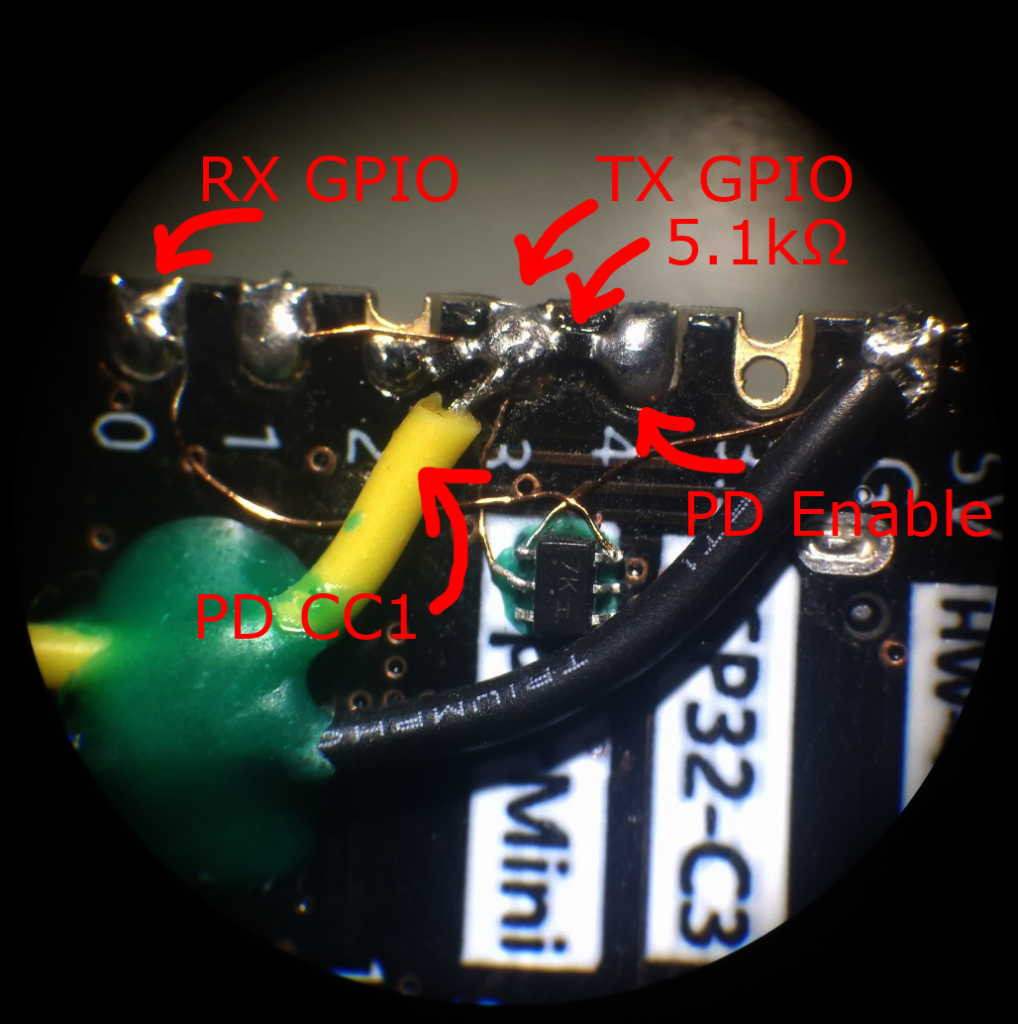
The Sensor Part
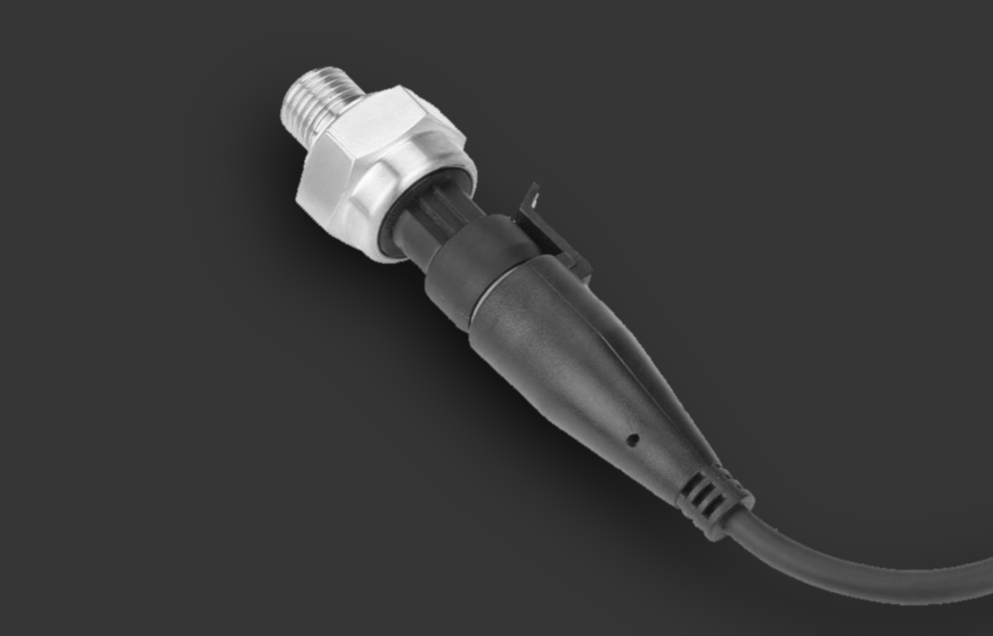
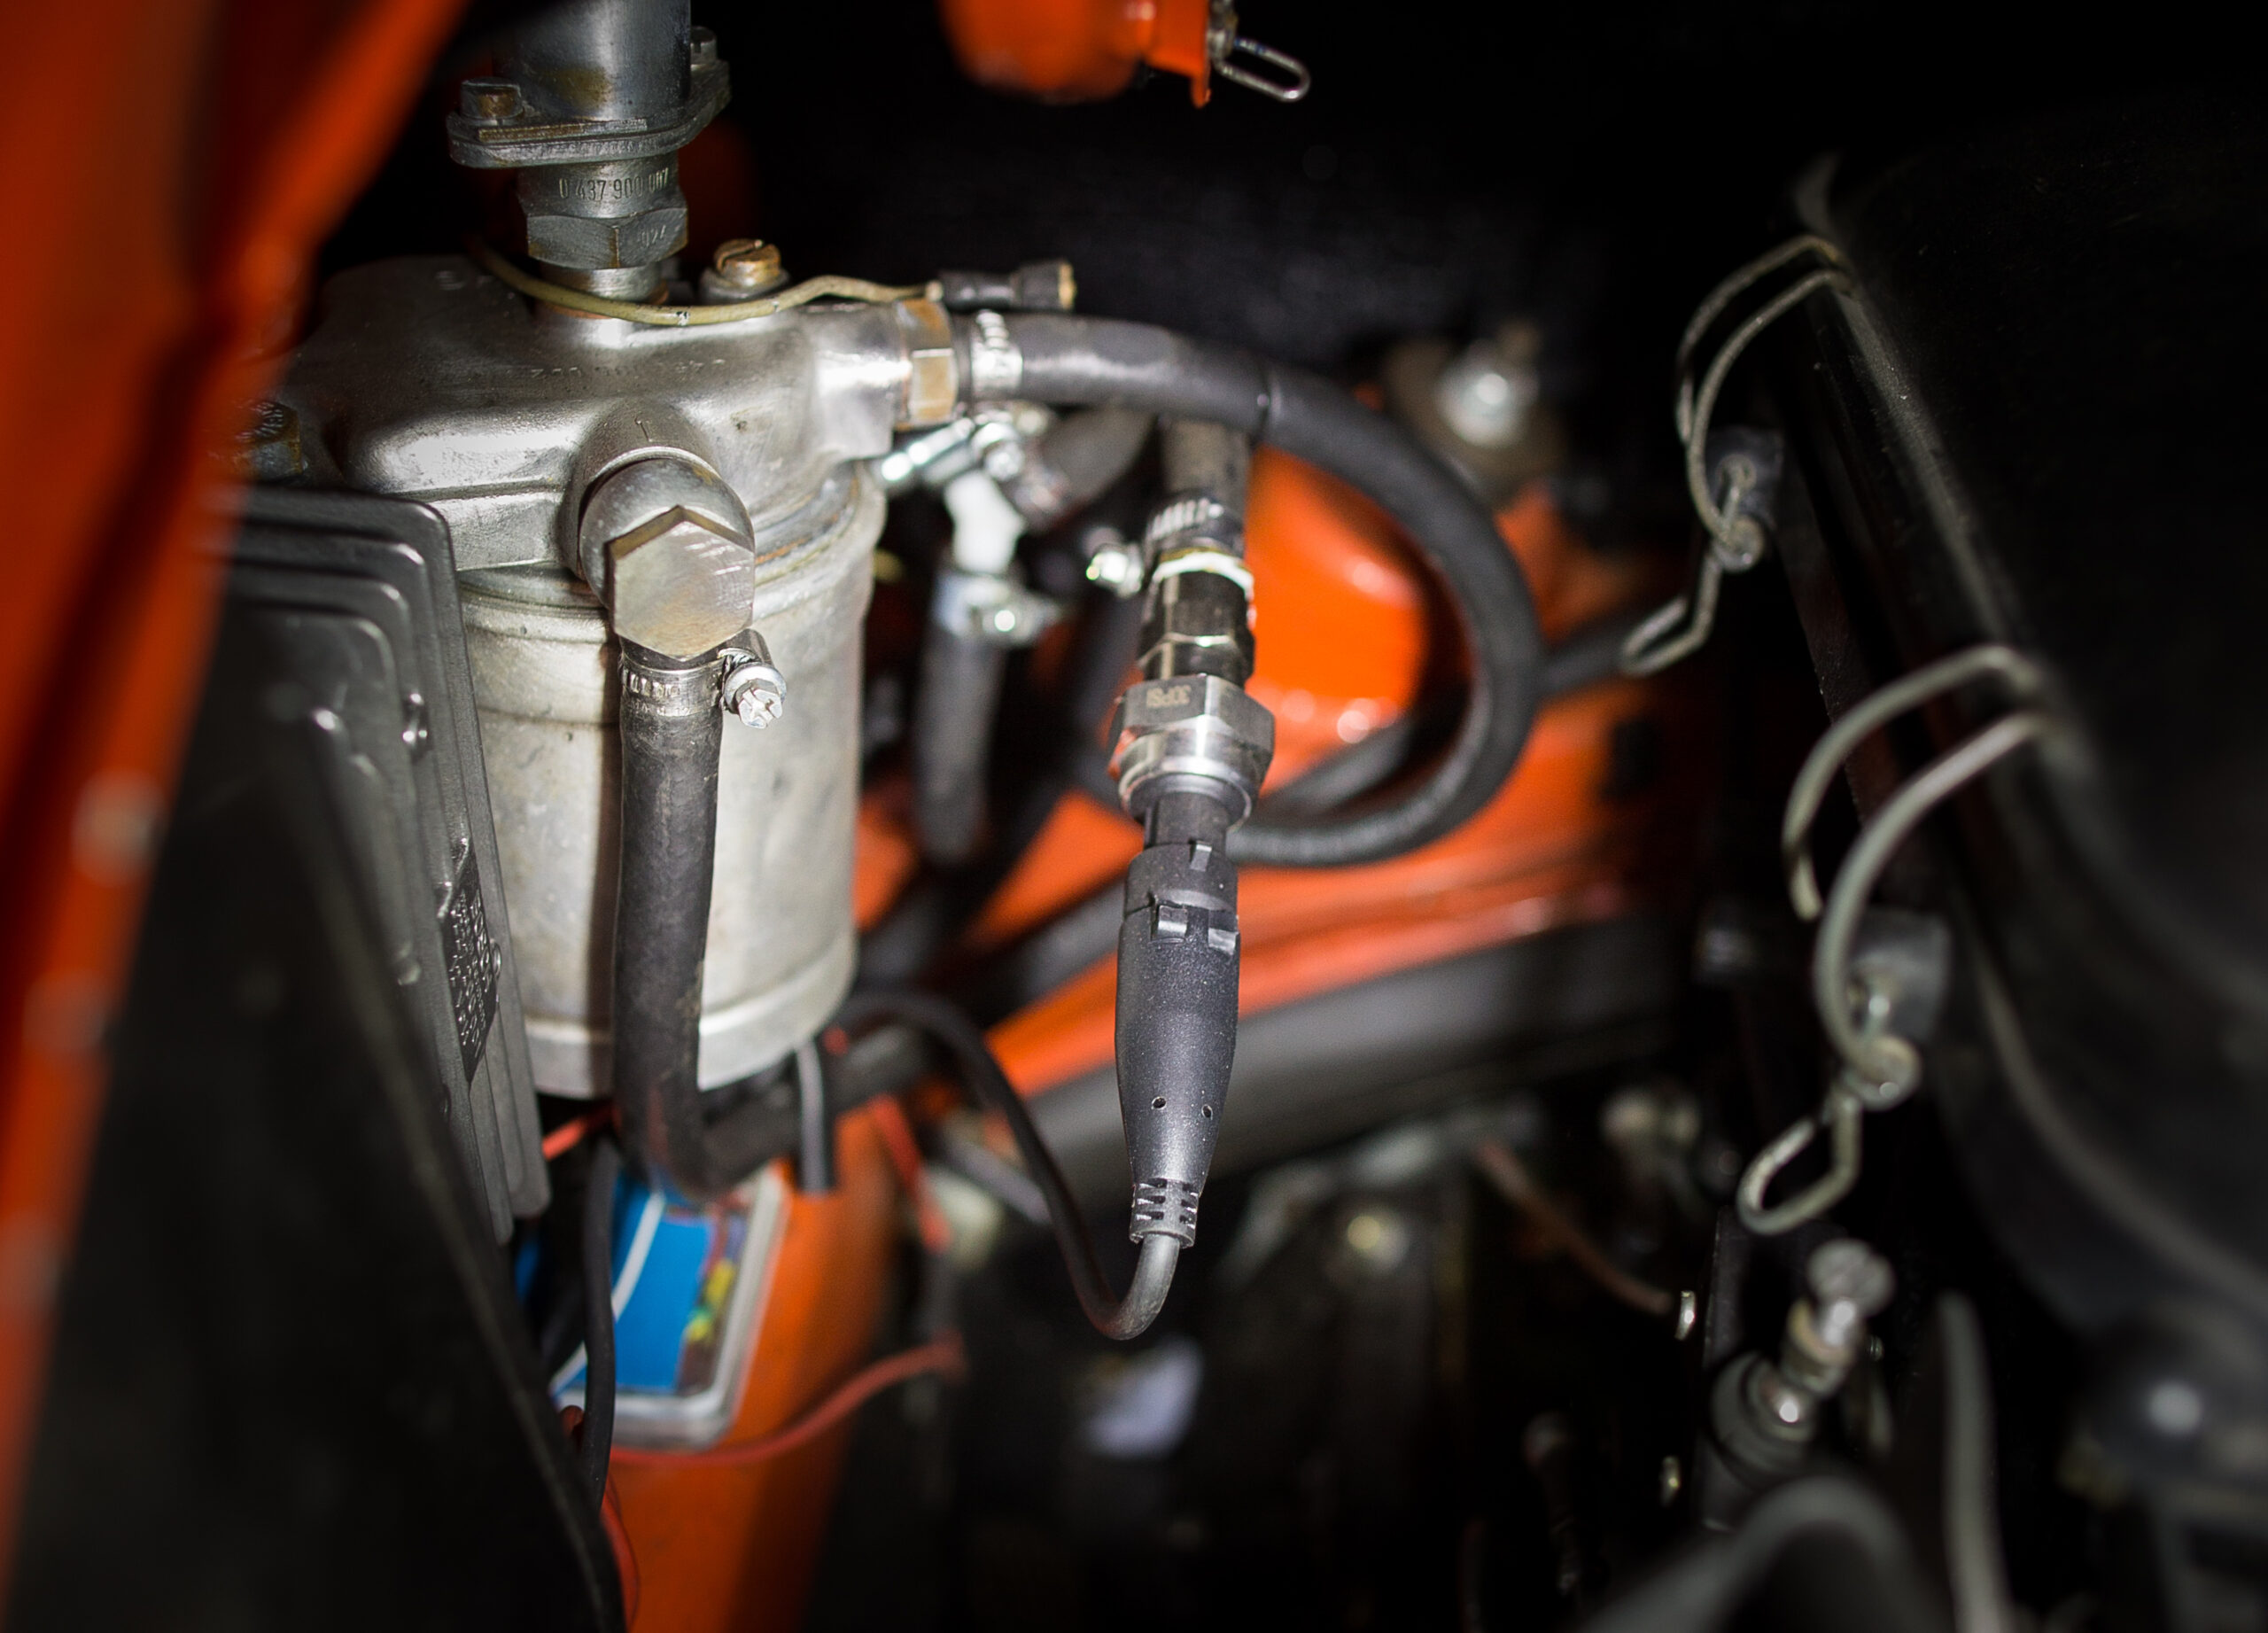
There the journey with a fuel pressure sensor/display started. Ordering a fitting part from a well-known online platform wasn’t that expensive, causing just a 15 € expense. Matching to the expected system pressure, I’ve picked the 0-30 PSI variant, which outputs a 0.5-4.5 V signal. While the ADC of the ESP32 isn’t that accurate and the range limits should get calibrated to get exact results, the project is not about exact measurements. It’s just about detecting severe problems with the fuel pressure.
The sensor was attached to one ADC input, a second input was used for measuring the voltage at the fuel pump’s supply connector. With these two measurements, we can see if it is the fuel pressure at all and if so, if it came from a failing wire or some mechanical problem.
The software of the ESP32 simply reads the ADC channels every 100 ms and tracks min, max and average within that period. If a client is connected via BLE, it sends a message with those three values for the ADCs being sampled. For this service I’ve used the service ID 0xF911 of course.
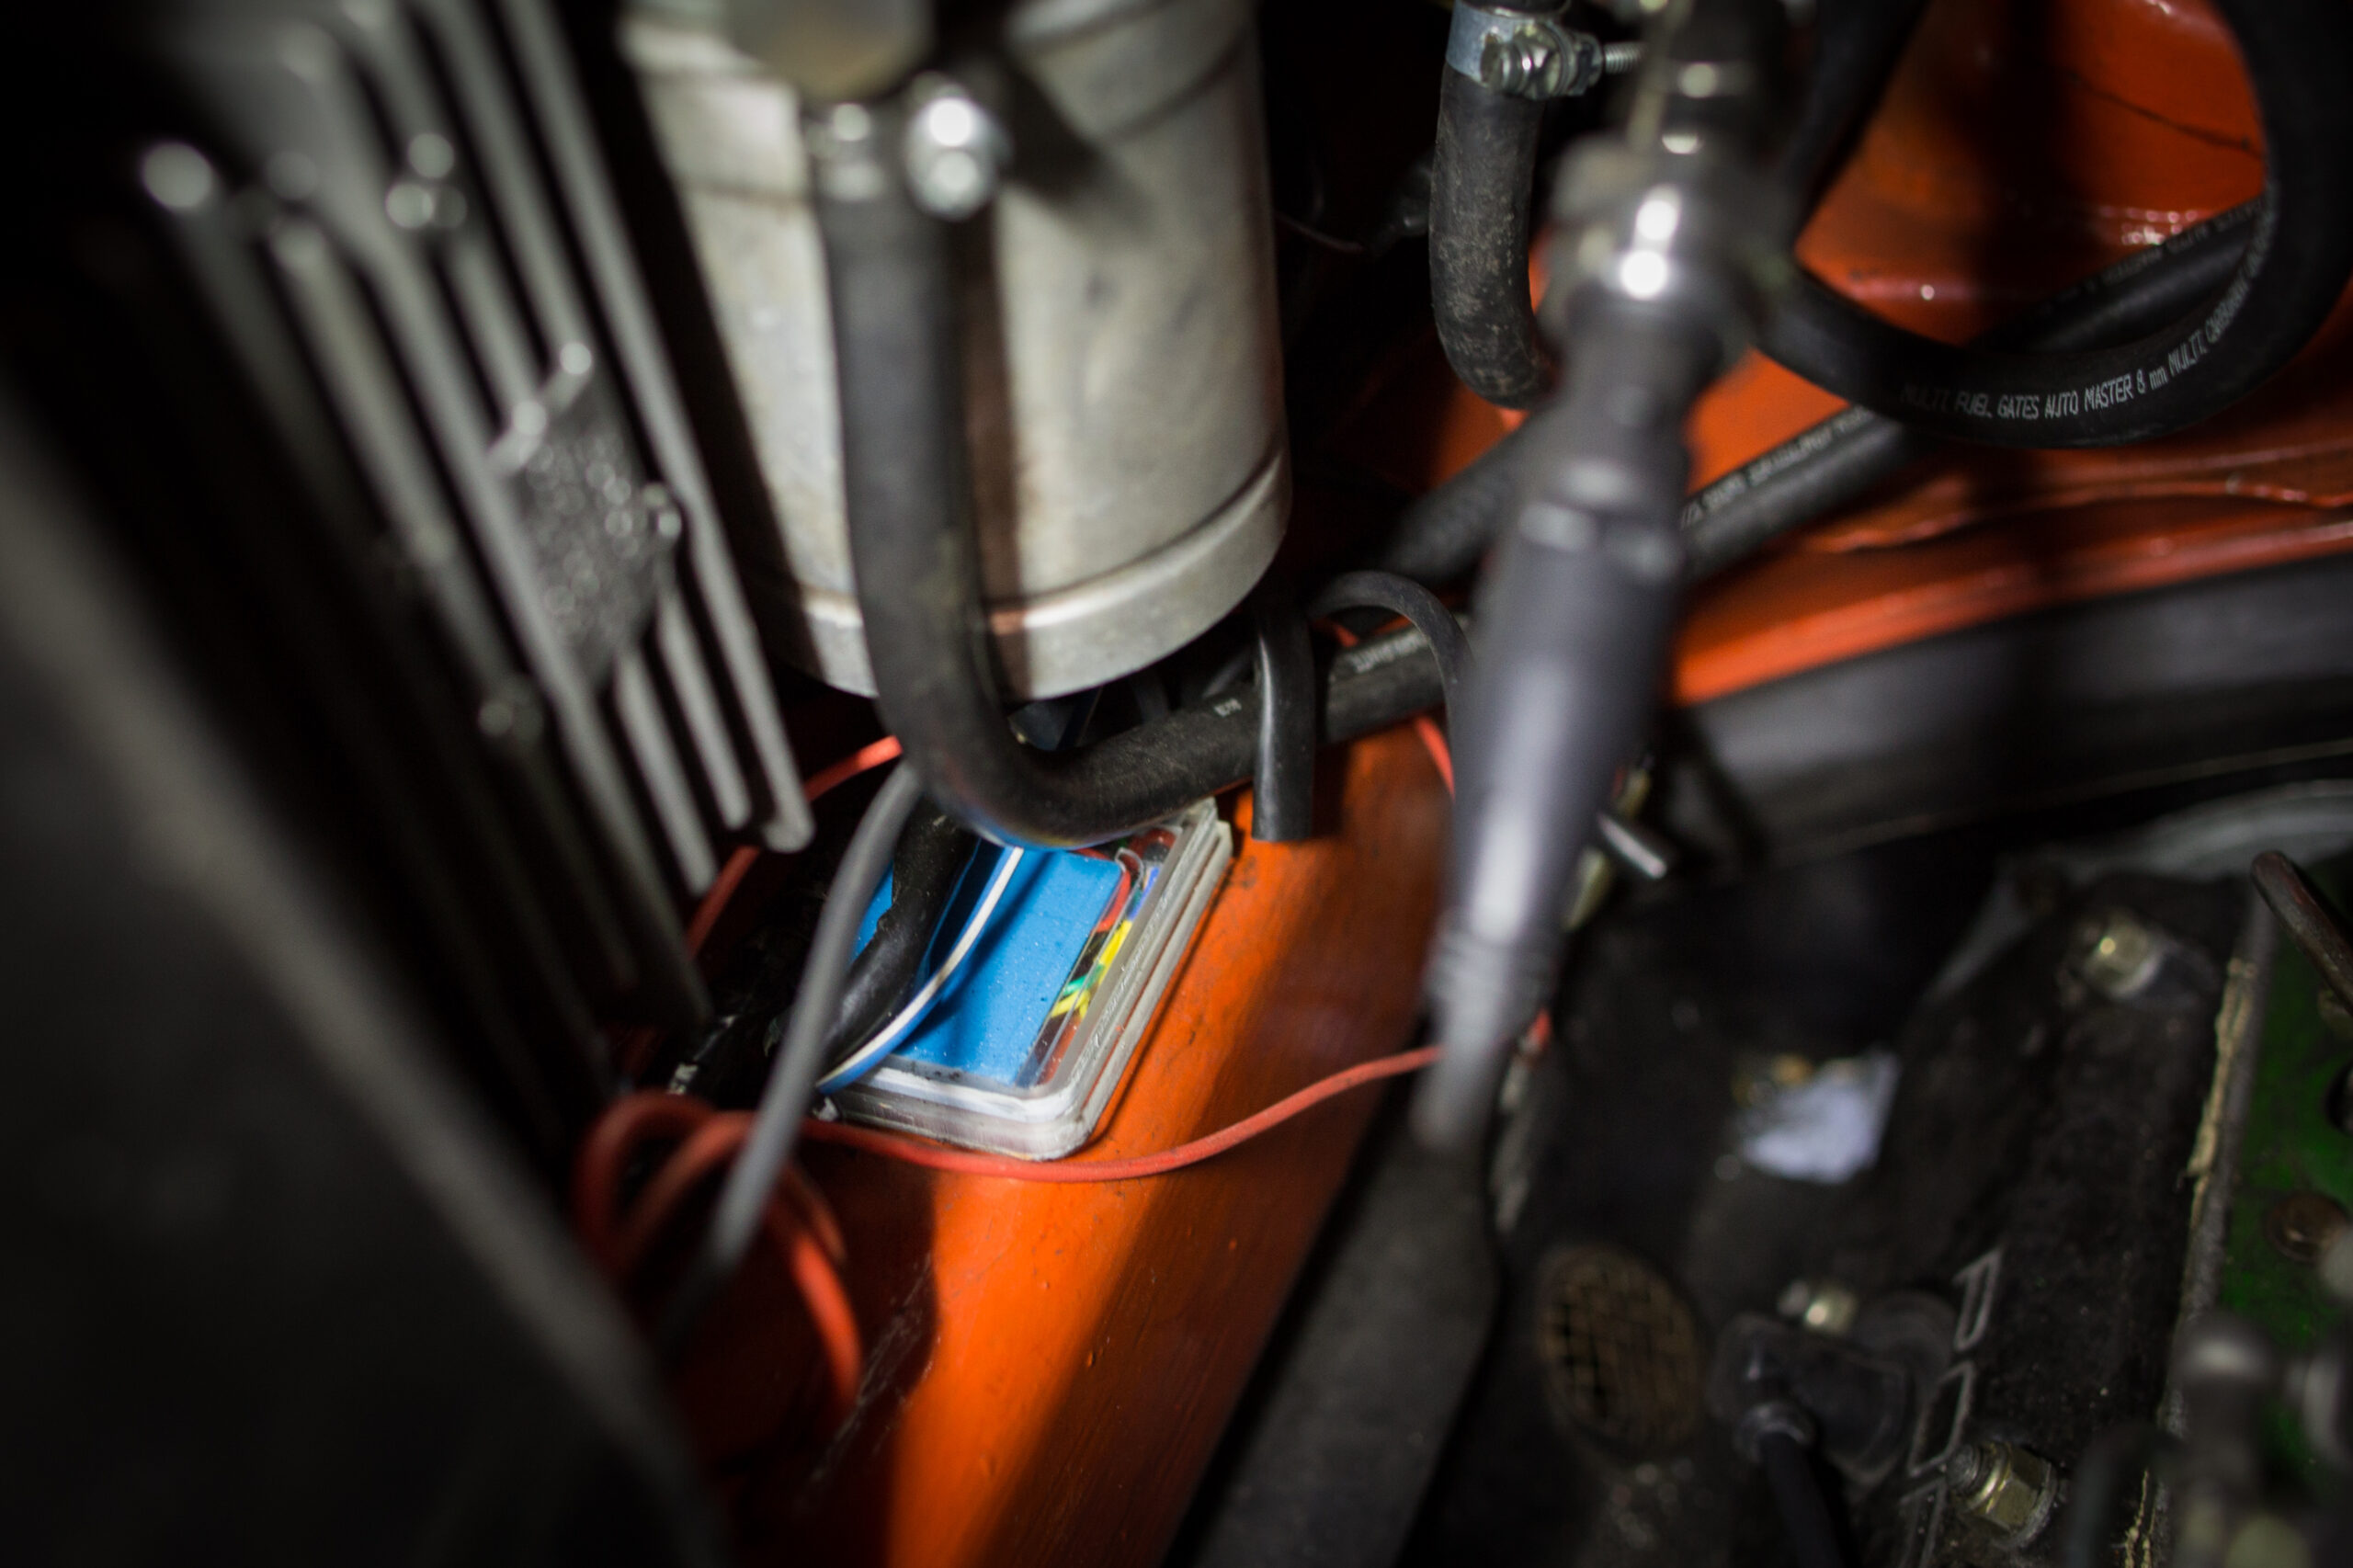
As this part will get placed into the motor compartment, we need a proper housing. I have designed it using OnShape online CAD and have split it in three parts for the eye candy. The inner part I printed in Tom’s infinity blue available at DAS FILAMENT. The outer housing parts were SLA printed with a clear anycubic resin, sliding into each other. What a pity that this beauty will get hidden deep inside the car where no sun shines to.
For the cables, I have reused some older industrial 3-wire sensor cable. One cable with the letter ‘P’ for power (GND, clamp 15 and fuel pump supply) and one cable for the sensor with the letter ‘S’. The car’s clamp 15 voltage is stepped down to 5V for the ESP32 and the fuel pressure sensor. A cable tie holds the flexible, oil resistant cables in place.
The Display Part
While the sensor sits in the motor compartment behind the driver, displaying the information on the dashboard has to be done wirelessly via BLE. If I think about it, I would probably have picked a spare mobile phone and displayed a page via WiFi or such. But that’s not a very elegant solution.
Luckily a few days before starting this project, Seeed Studio reached out to me, asking if I have use for a Wio Terminal. Initially I wasn’t sure if I have use for it, but it’s like with 3D printers – as soon you have it, you find a lot to do with it.
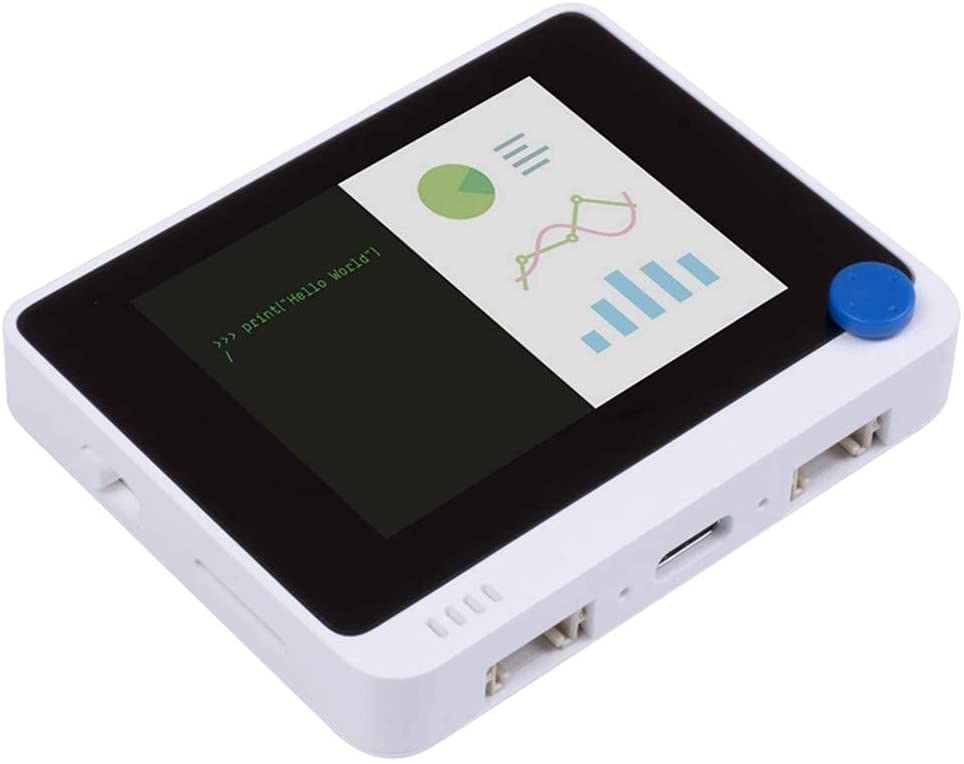
This device is basically an ATSAMD51 Cortex-M microcontroller, RTL8720DN WiFi/Bluetooth chip and a 320×240 LCD display with buttons and a few smaller extras plus a few connectors for adding external peripherals.
In my case, I just needed the display and a BLE connection, which was not as simple as I’ve expected in the first place. However, after some intial update problems and following a few examples and fixing a smaller 16 bit UUID issue in the BLE routines, things started to work out. The main effort then was to build some UI that properly represents the information and shows immediately what’s up. Thats stuff I hate the most. Dozens of lines of code for a single image.
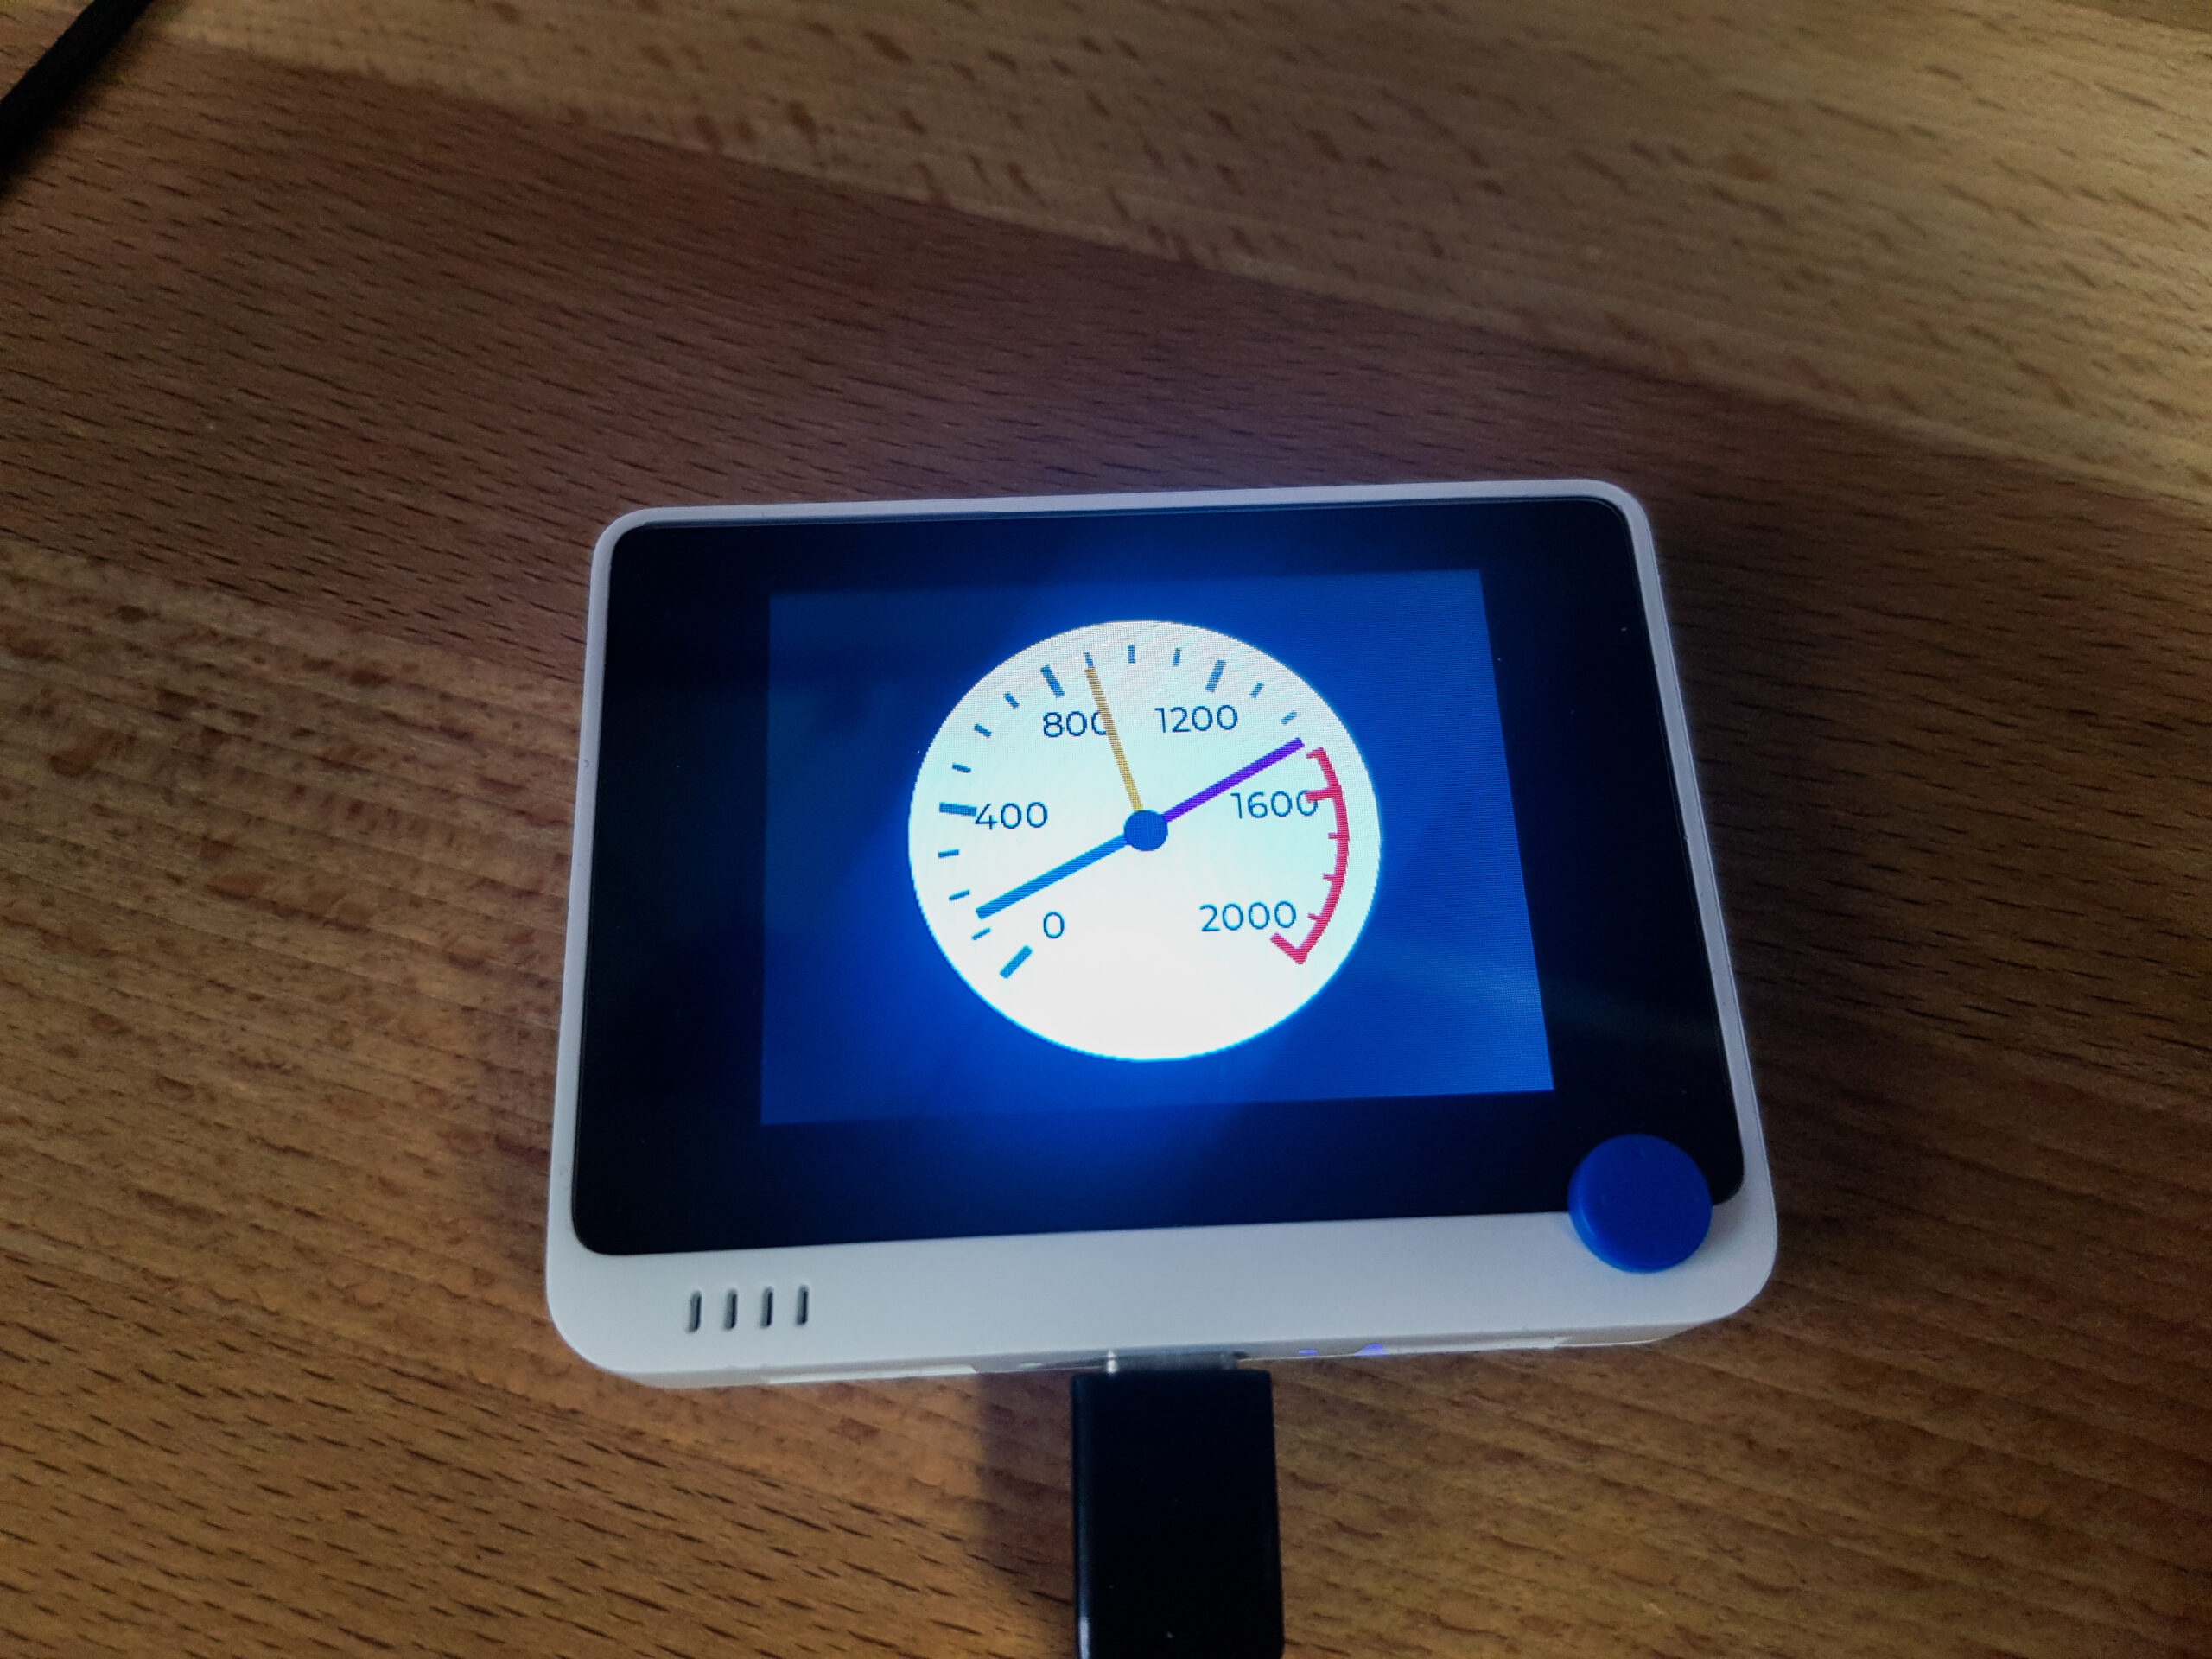
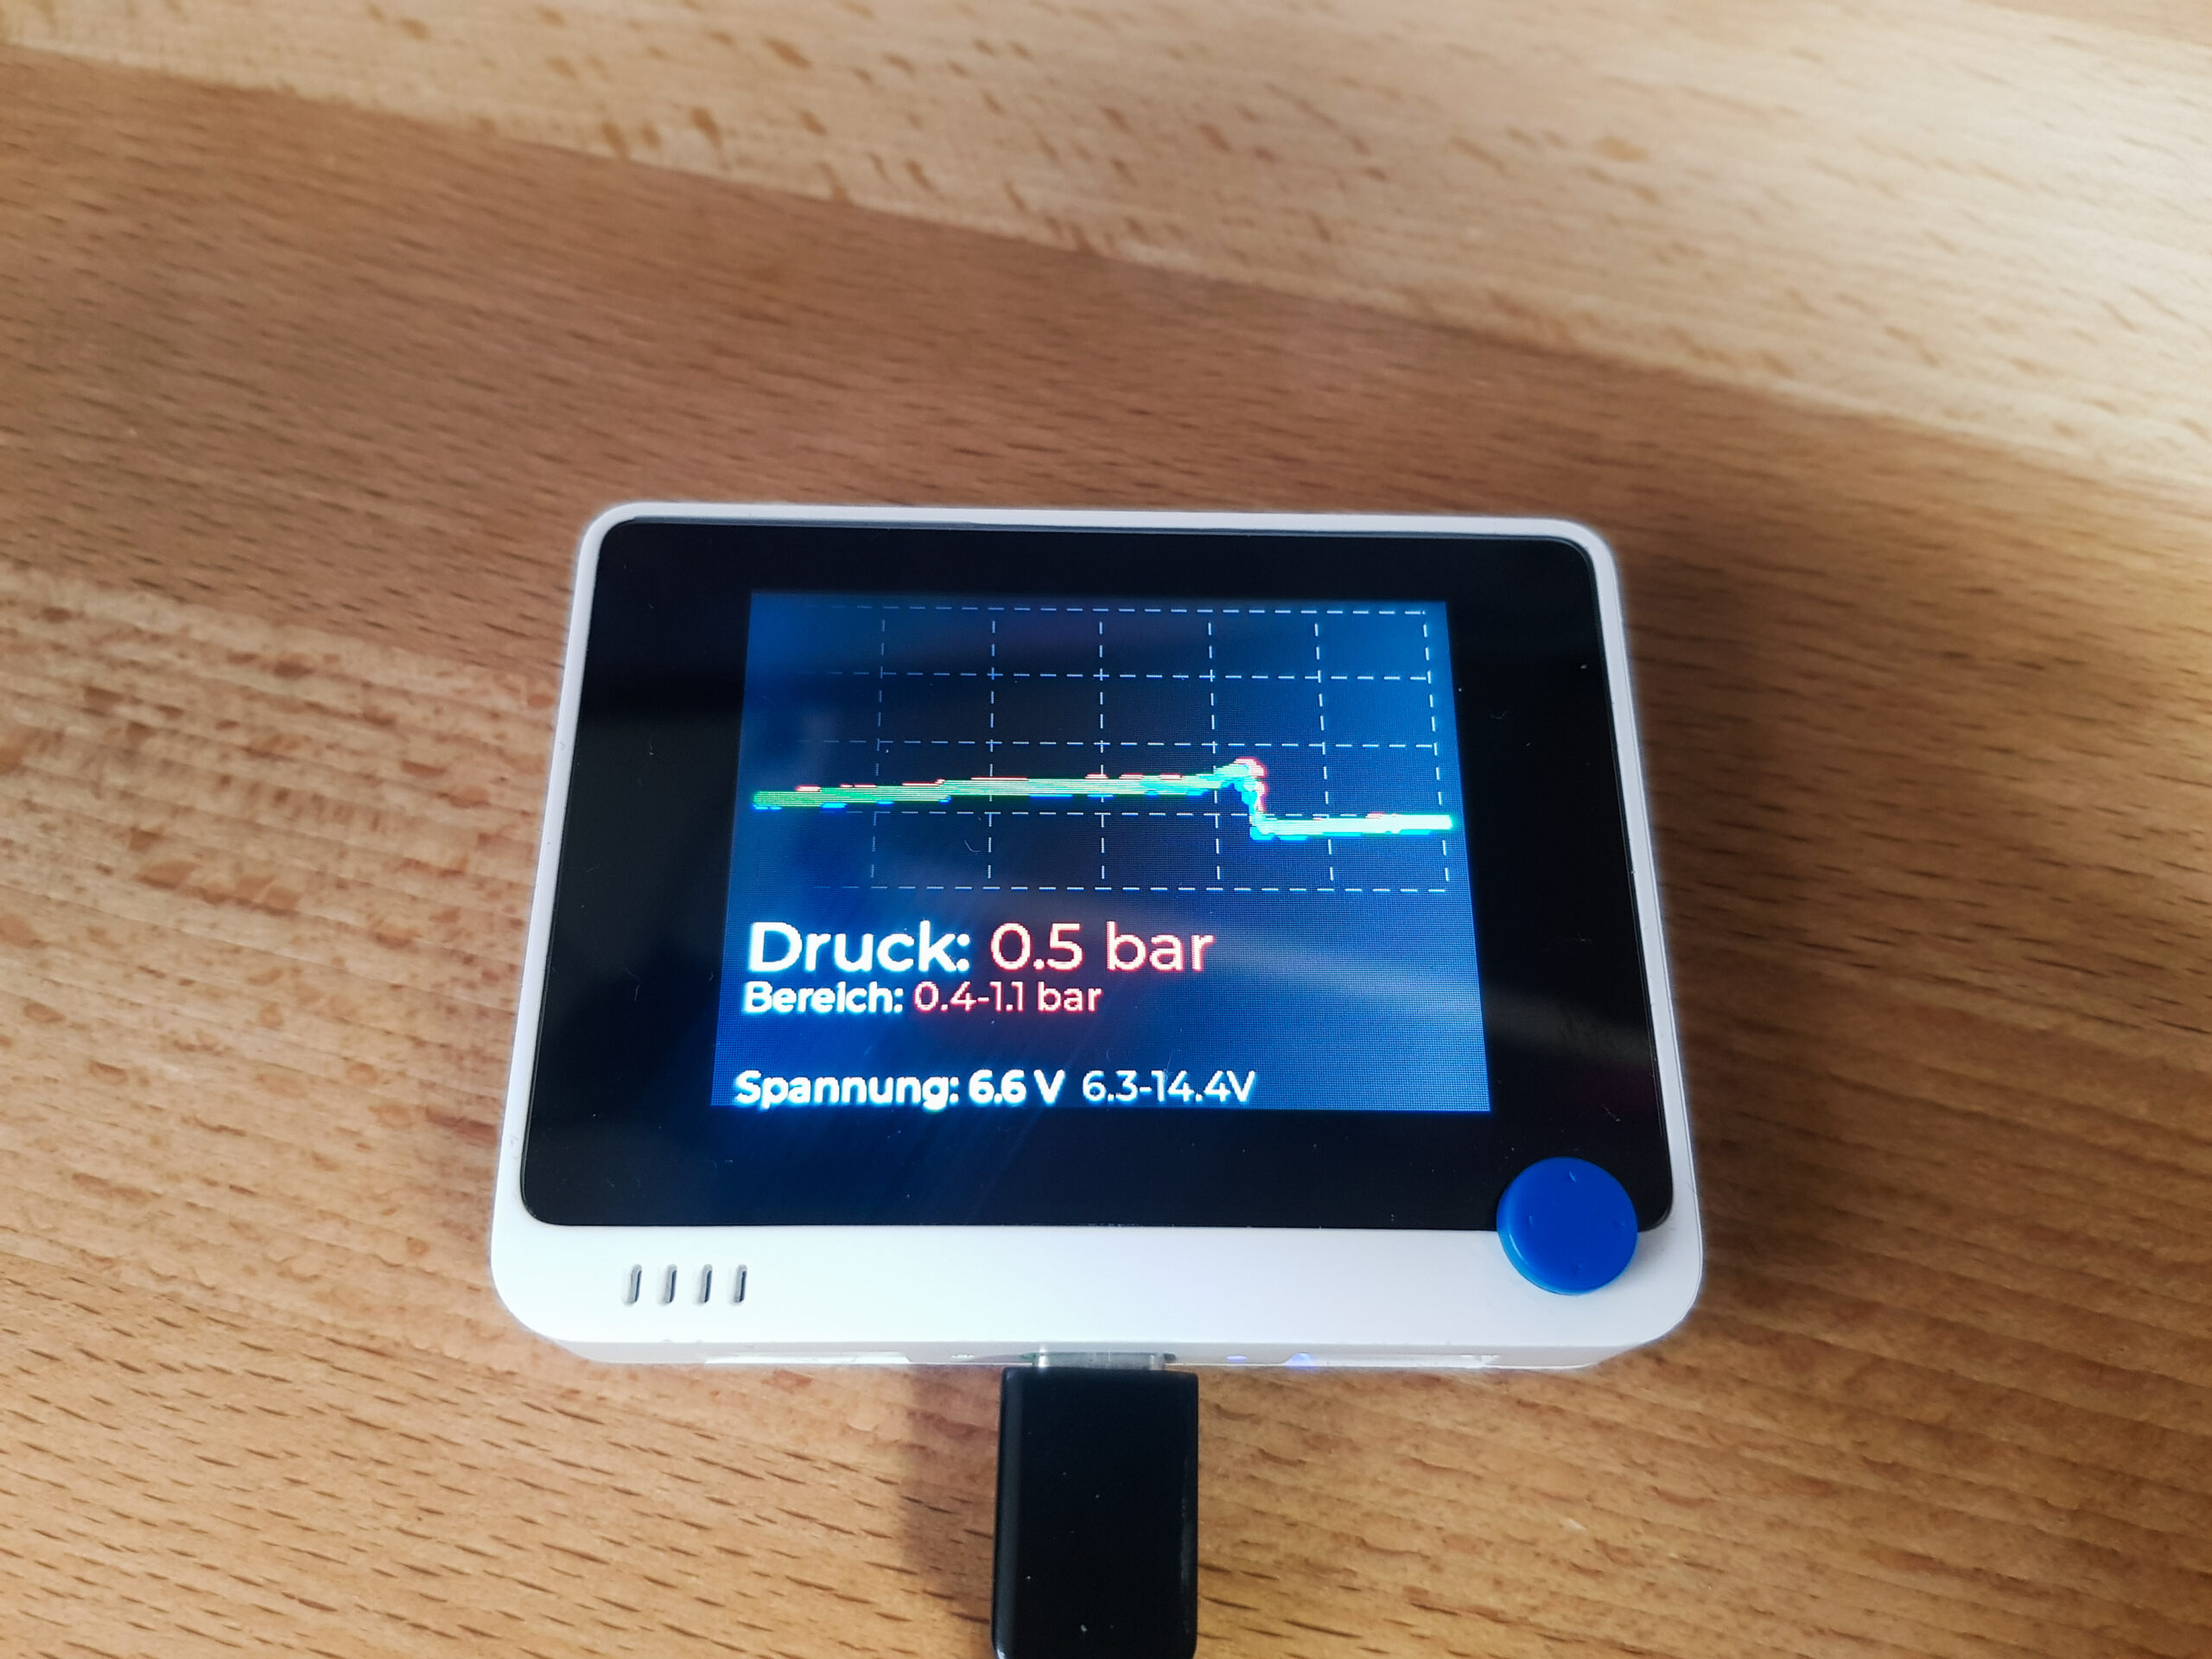
But finally the device got a min/max/current trailing pointer gauge and a plot with min/max/avg traces plus the current fuel pump voltage.
Results
After mounting the ESP32 in the motor compartment and wiring it, it was time for the first tests.
The Wio Terminal was mounted on the dashboard and the engine was started to check the whole system in action.
You can see the voltage raising with increasing motor rpm while the pressure drops down a bit until the fuel pump regulates up and this delivers enough fuel again to match the current fuel consumption. As soon you reduce throttle, the presure goes a bit up. Logging all data to the Wio terminal’s SD card would be an extra option I considered and maybe will add later when the bug hunting goes on.
Conclusion
The ESP32 is a great development platform as we already know. But combined with the Seeed Wio Terminal, I think thats a perfectly matching duo. Both devices fit well together, the ESP32 being the low level workhorse for realtime applications, hidden somewhere in the car and the Wio Terminal for the fancy GUI stuff with buttons and giving your project a more professional touch. Speaking of that – a touch screen would have been cool too, but for 35 € I think you already get a lot to tinker with.
Now is time for the oldtimer driving season to start and hopefully we will find the culprit, interrupting the cruise in the sun.
Related Posts
[ESP32-PD] USB PD using ESP32 / Zigbee Crib
Emporia Vue 2 Custom Firmware