Stumbling in (formerly ebay-) Kleinanzeigen I found a heavily abused Canon EF 100-400mm f/4.5-5.6 L IS for €150.
Sounds cheap, but checking the images and reading the description relvealed a hard crash on concrete, smashing the EF bayonet ring and the inner mechanics.
The seller was bugged as he really liked the lens and I wanted something to tinker with.
If the lens wasn’t (ab)used too much, you still pay >500€ which is also fine. But wanting something to tinker with, I bought that lens.
It arrived packed professionally, kind of a bit overkill compared to its demolished state, but thumbs up and kutos to the seller.
Here are some photos of the lens:
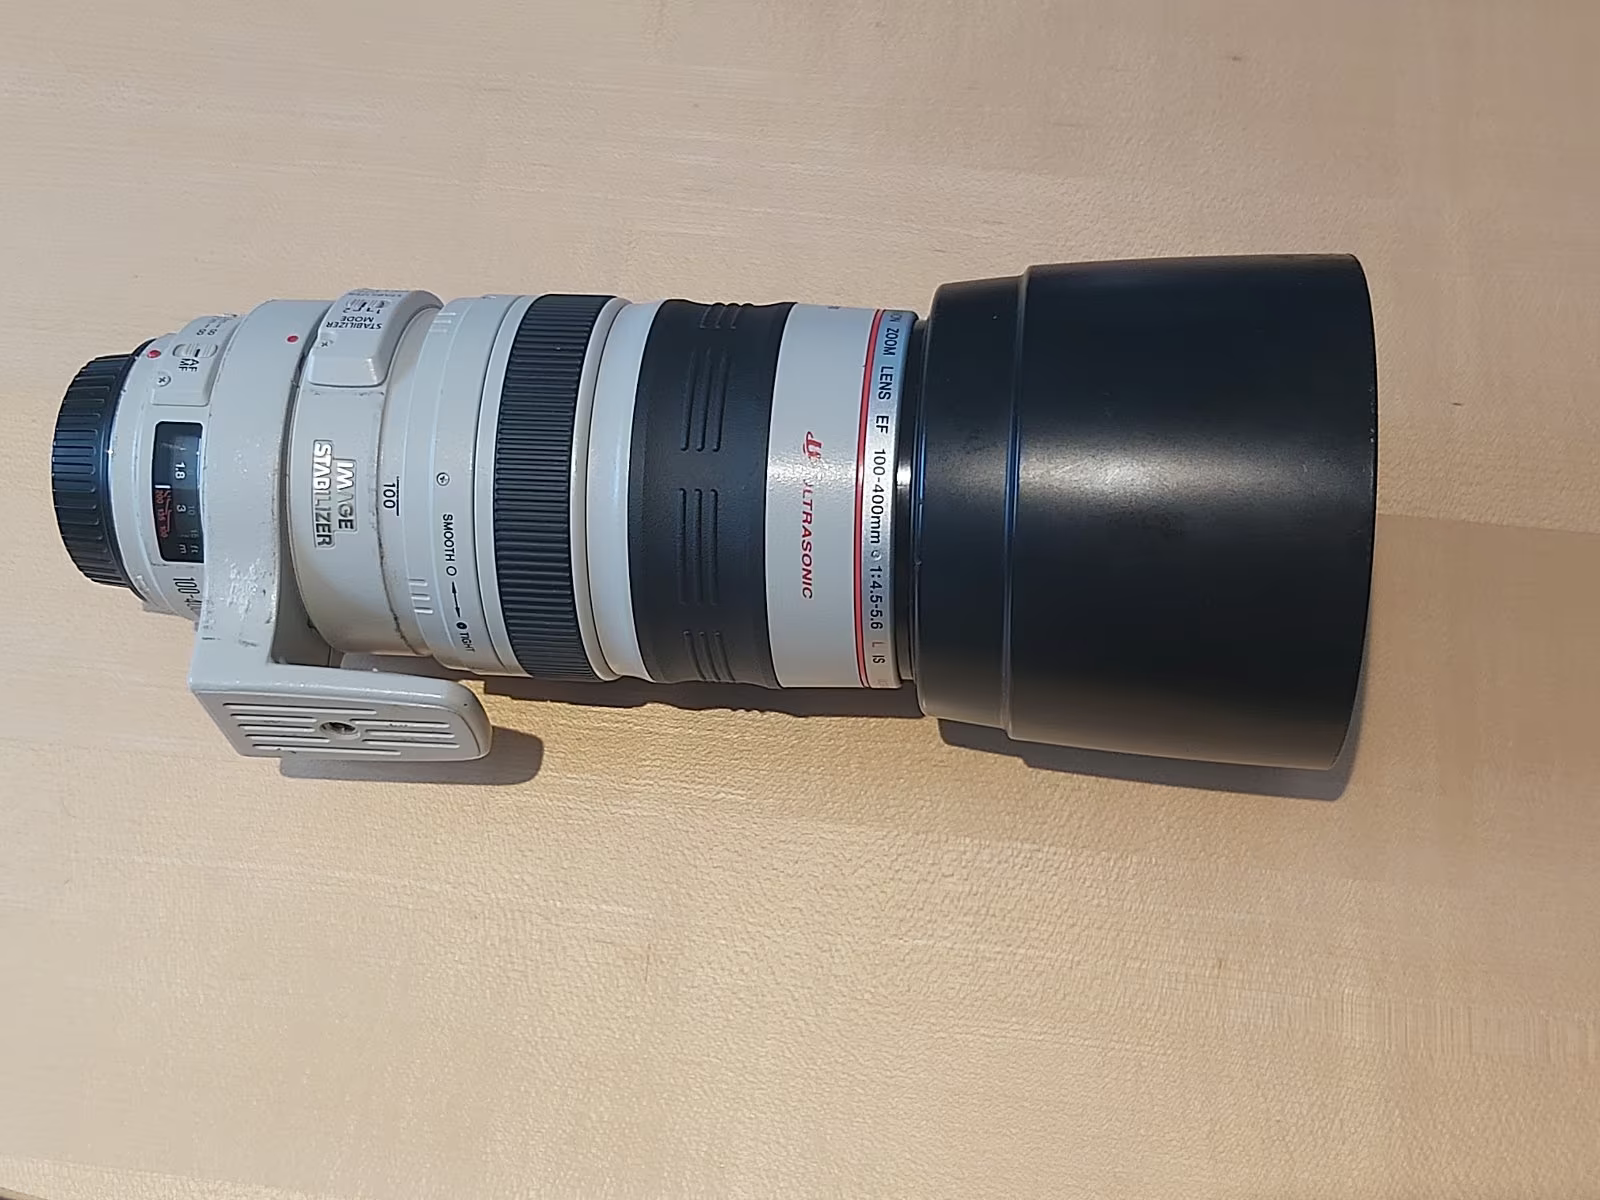
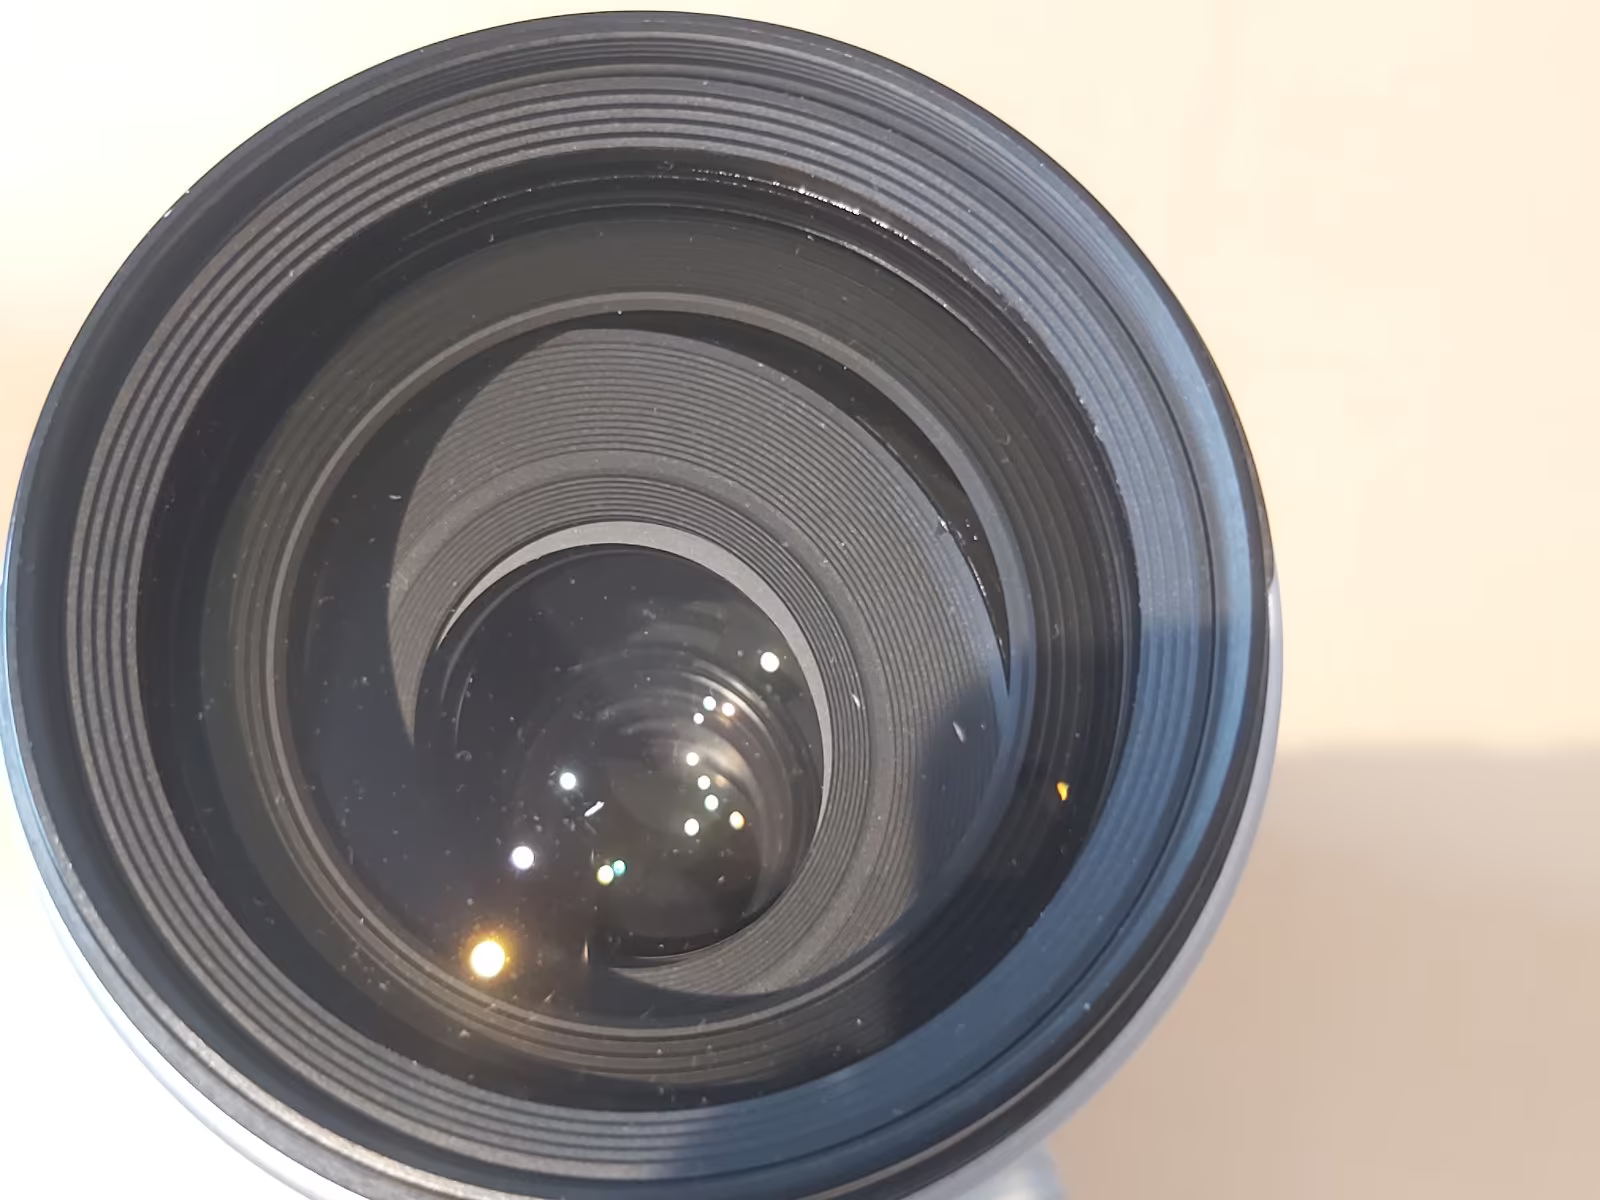
The first steps was disassembling the lens and inspecting the damage. A big help was a video on youtube showing all the details what to look out for.
So I started disassembling the lens carefully (at least I thought so)
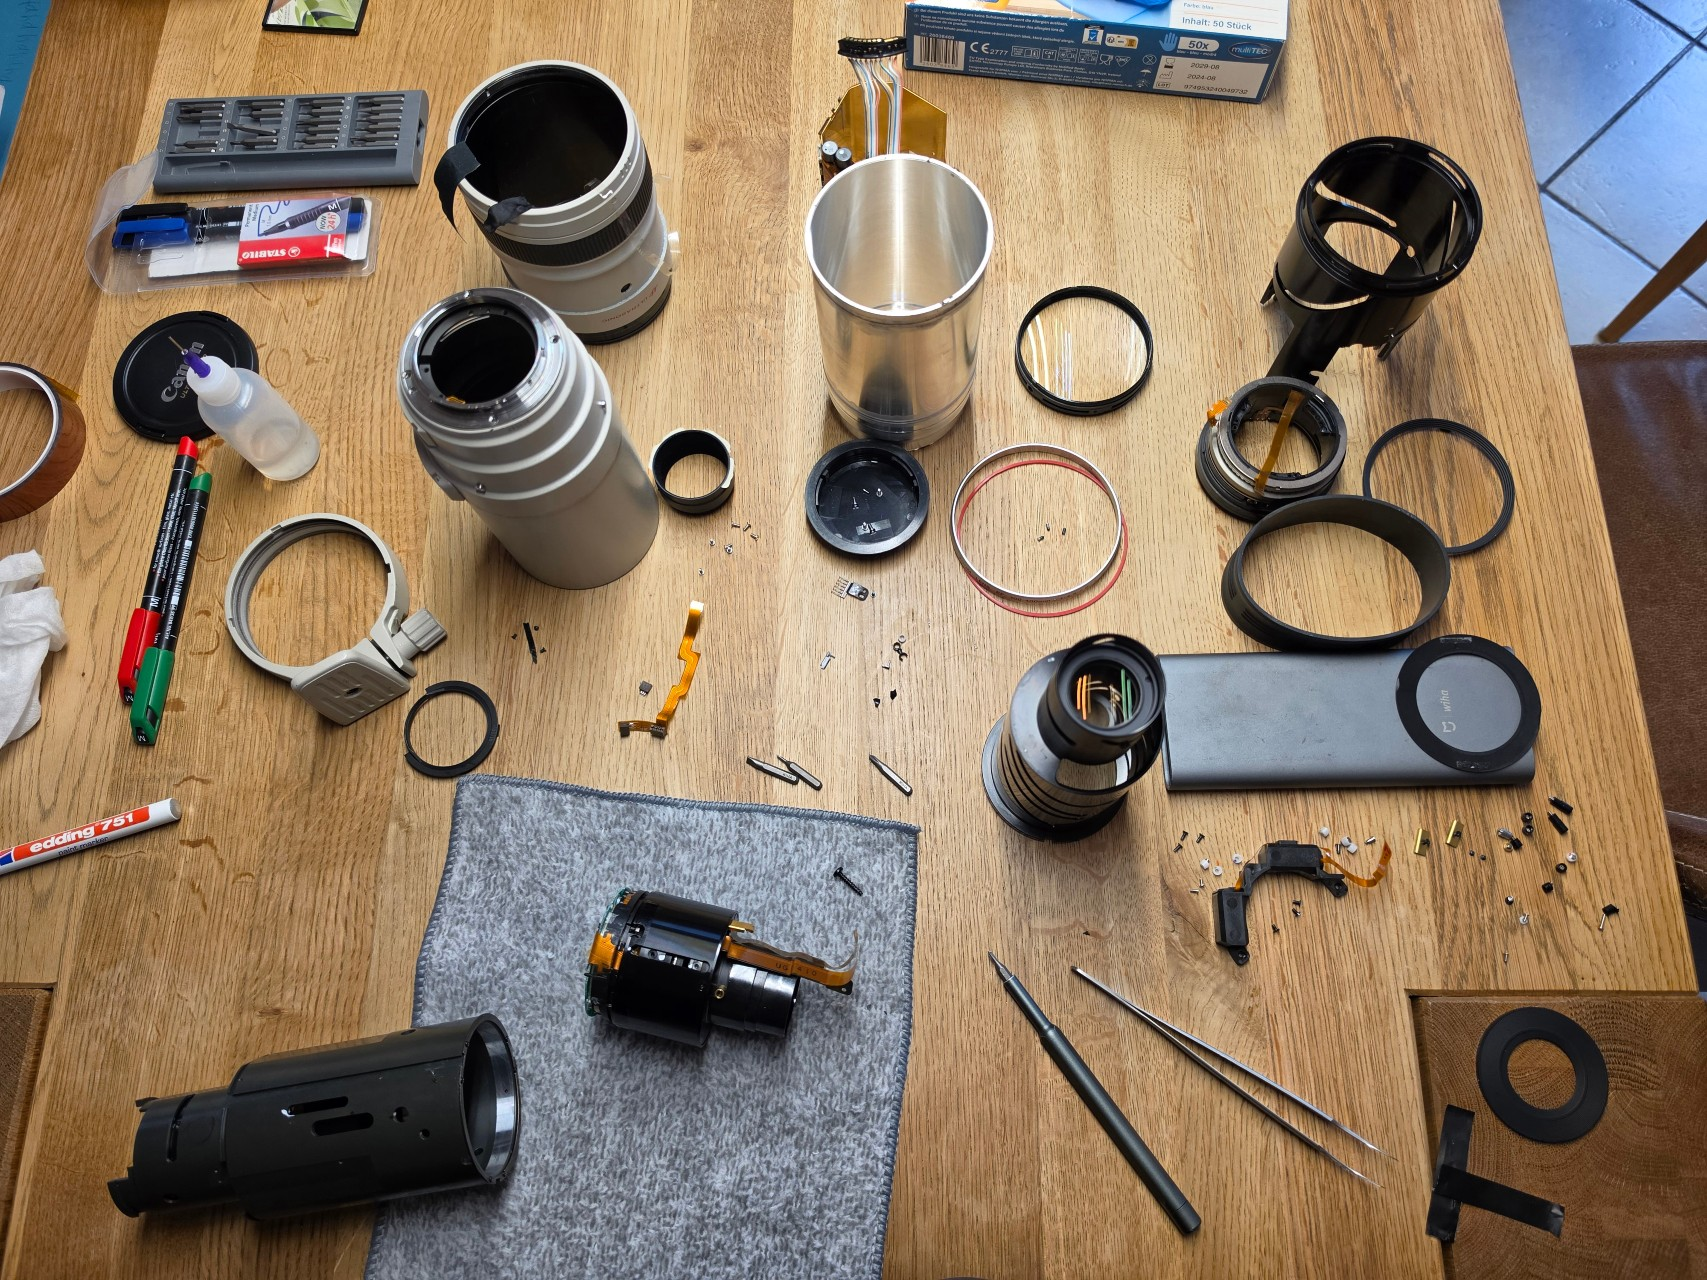
While most of the stuff came apart easily, the EF bayonet mounting ring seemed to be welded to the magnesium housing. Obviously the ring was not just bent as hell, but also the housing had a dent there. Taking them apart and trying to bend a bit made me break a mounting tab for the ring.
This was quite expected to happen, but I needed to do something about it. Meanwhile I odered a new ring from aliexpress, which took 10 days to arrive.
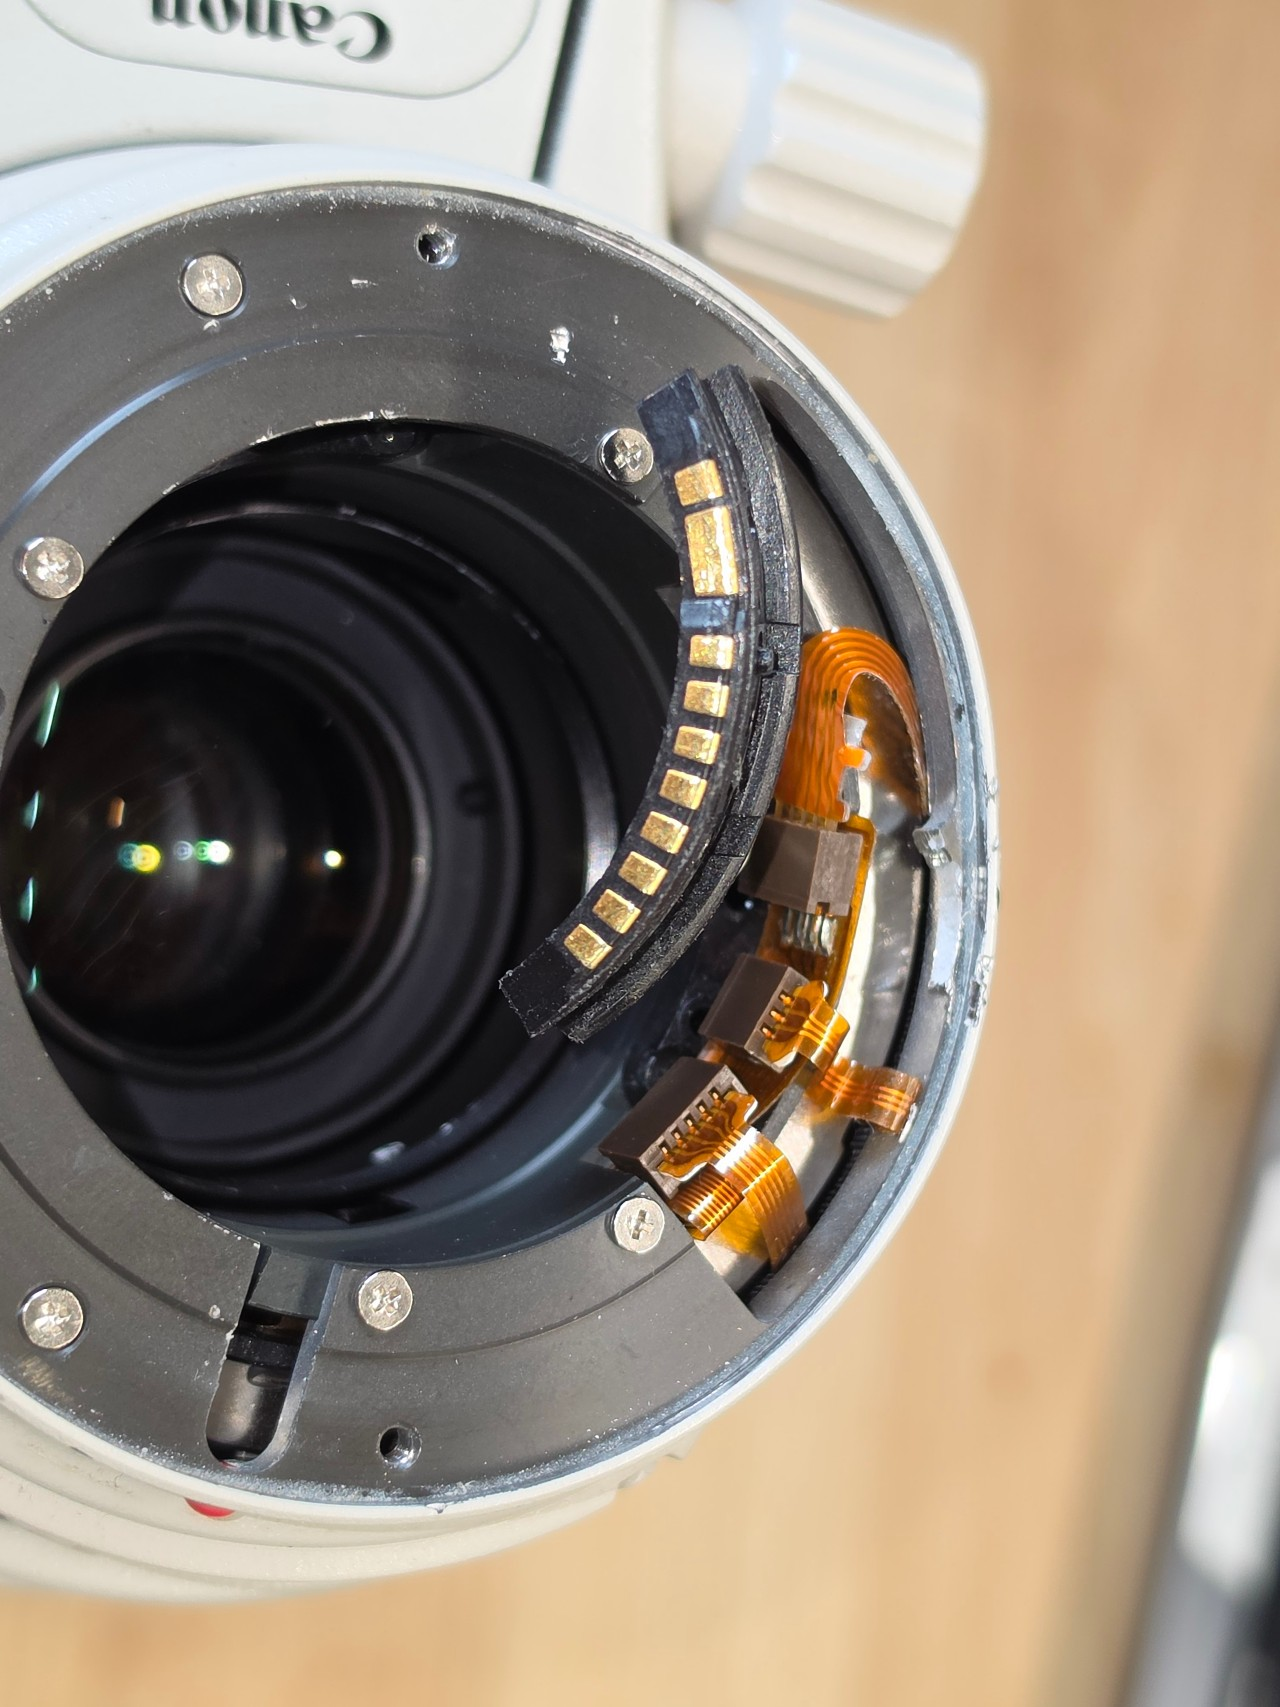
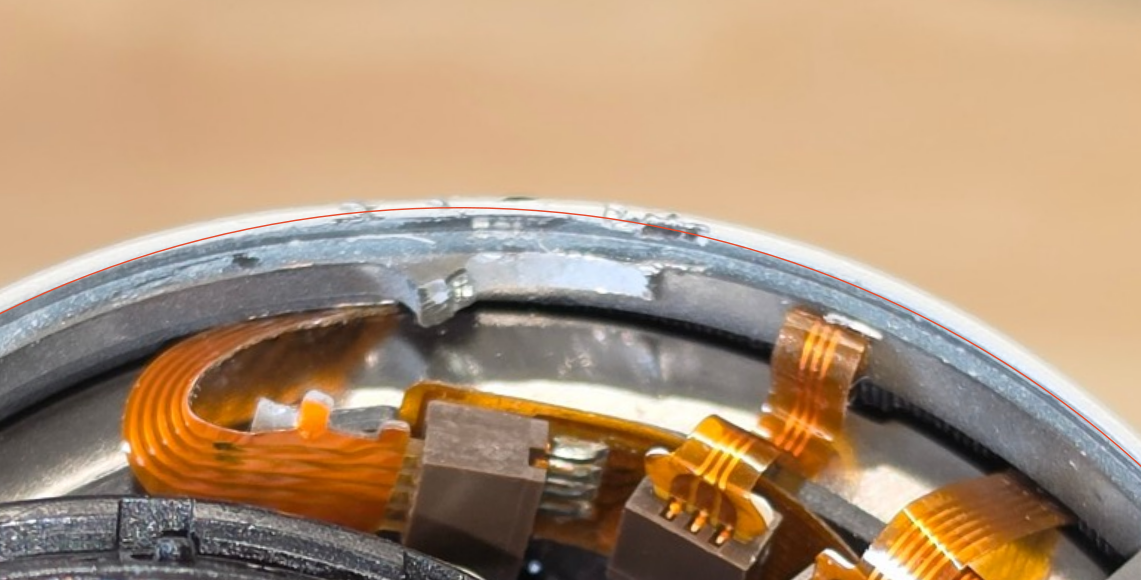
Marking the supposed shape of the body in that area shows clearly how deformed the ring was. While trying to repair I broke the tab – you see the matte break-off area right below the red marking. Unfortunate, but yet expected.
While disassembling, a lot of broken plastic fell out of various areas of the lens. The plastic pieces in the bottom part of the following image are fragments and above a few good ones.
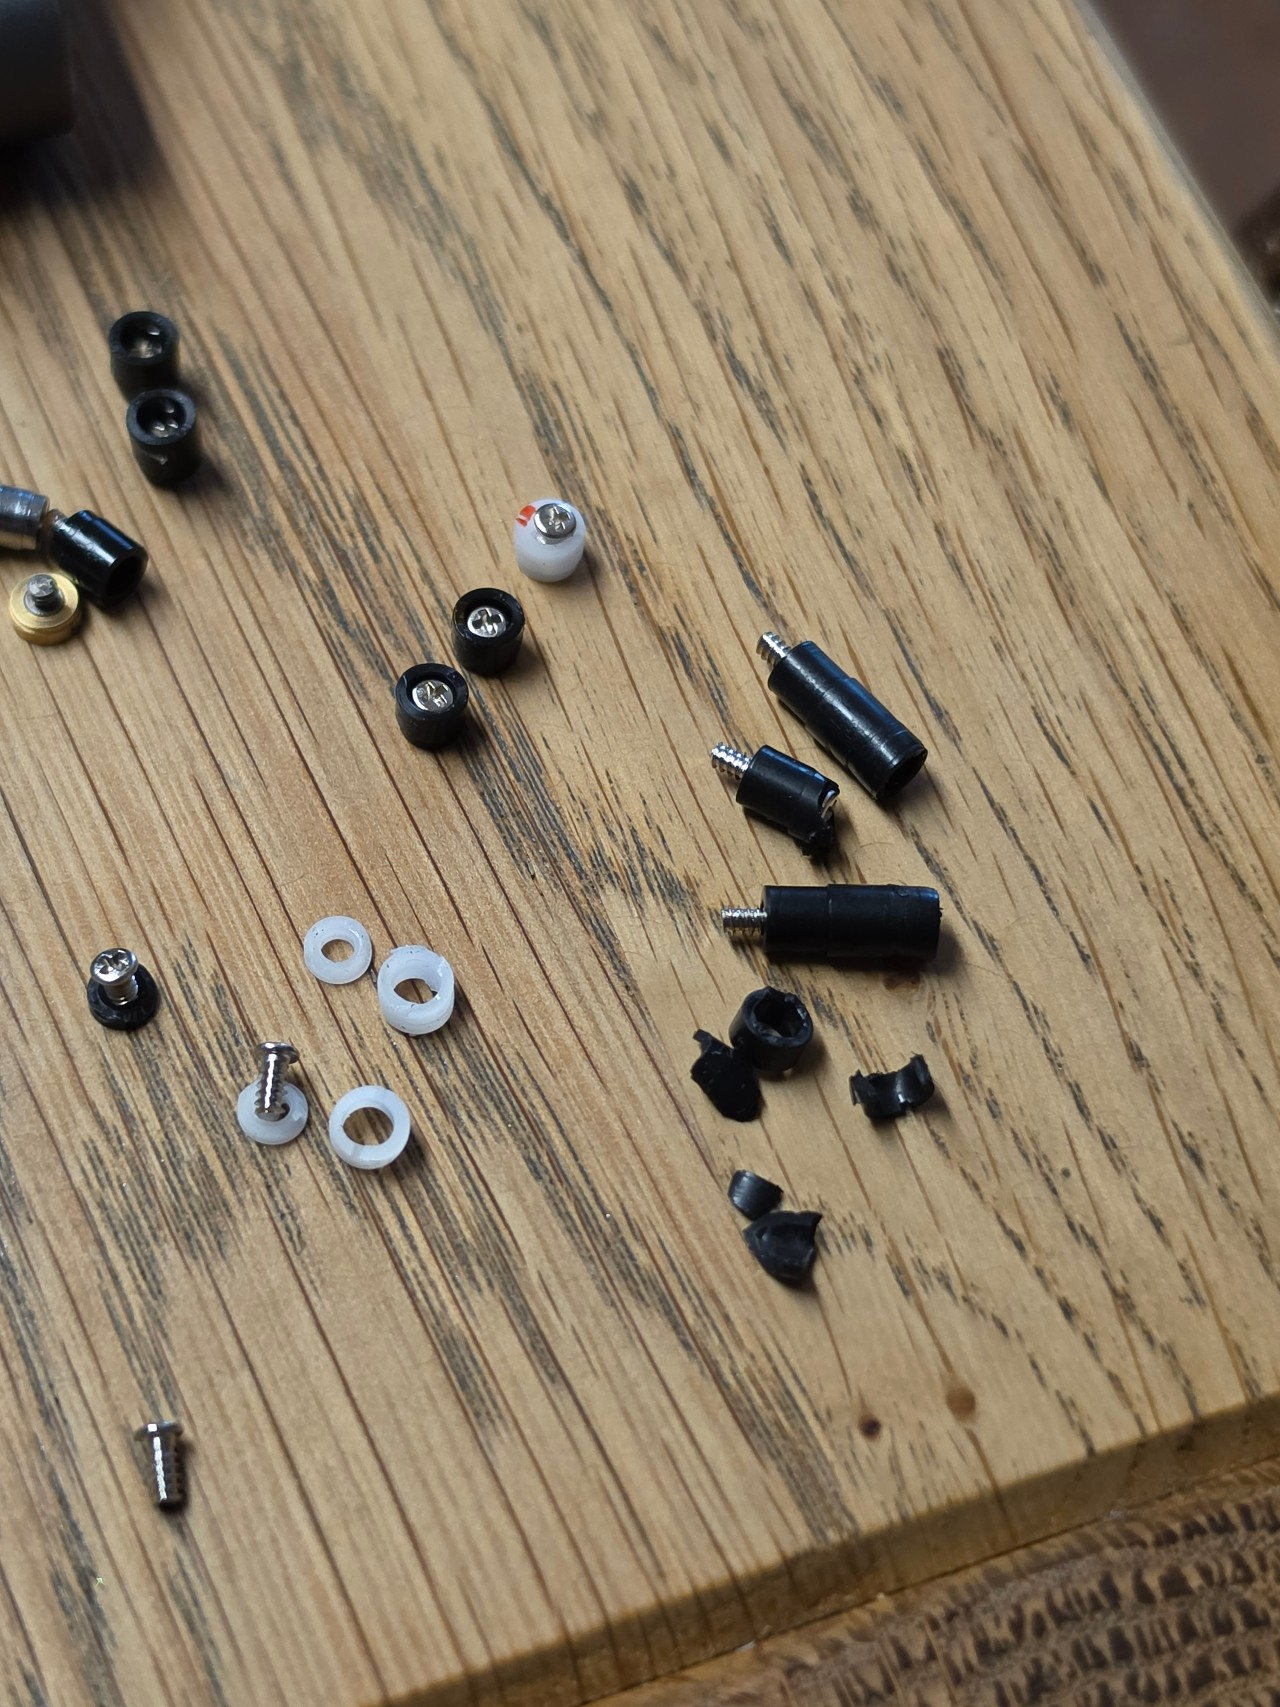
So basically there are three types of these rollers – white ones, short black ones and longer black ones. The crash destroyed a few of them, vibration unscrew even one completely. Or someone already peeked into it and left the screw lose? Not sure.
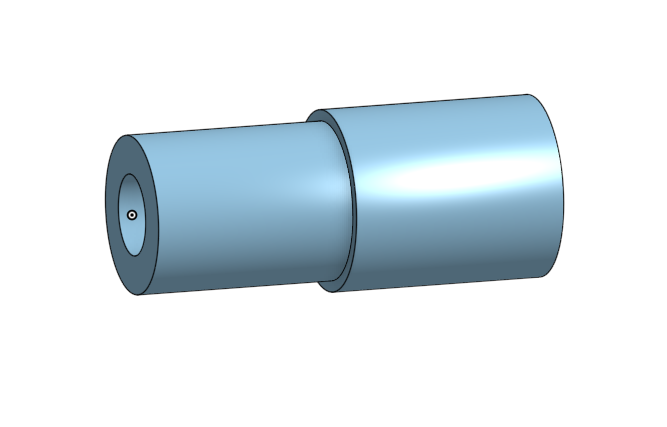
Simply designed these in OnShape and printed them in PLA. I know, neither the temperature range of PLA is made for such a robust lens, nor the excentricity and thus calibration functionality of the original plastic pieces are implemented here. But the calibration is gone anyway and I am happy to get it working at least somehow.
I’ve taken it apart and assembled it five times (until today) to test around and fix things. Main problem is to find out where and what you have to get where into place to align with what. Hard to explain, but even after five times I am not confident how to e.g. properly get the inner lenses into position without wiggling too much on the IS and it’s flex cable.
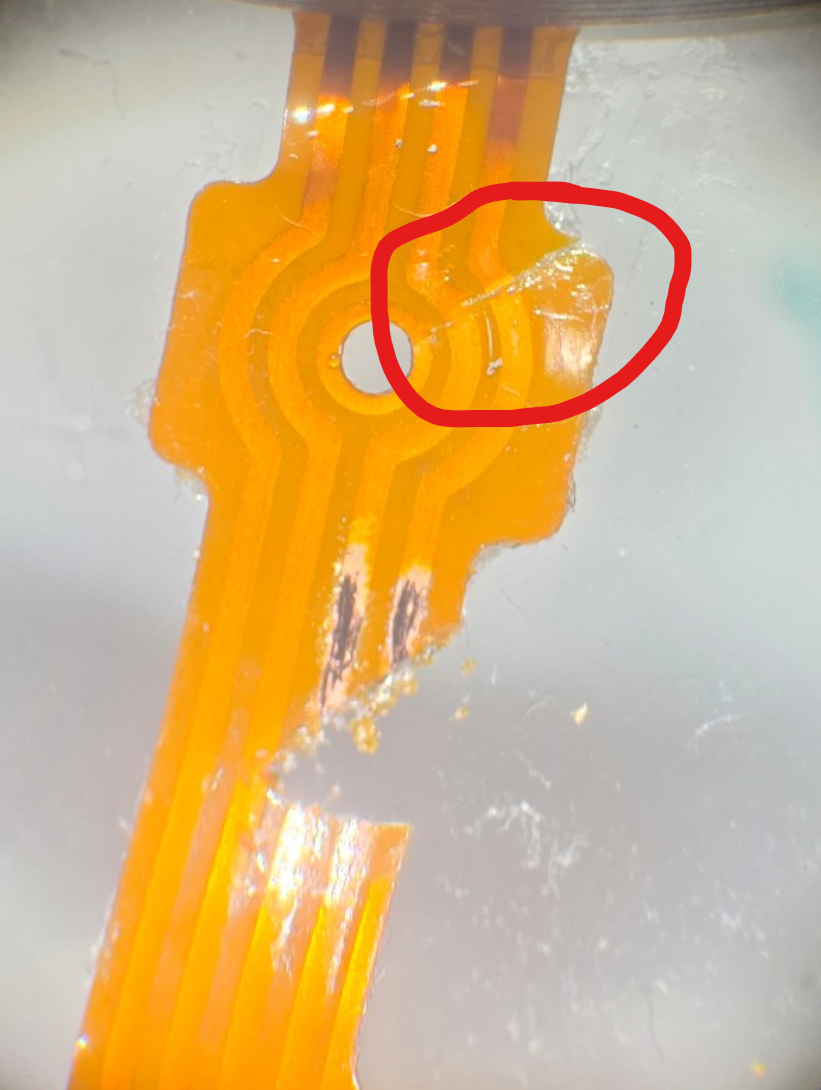
Having it all assembled, I realized I fucked up the USM flex cable. Uhhhh… First I ripped the upper right are apart (see red circle, hard to spot), destroying two traces. F……
Later when (don’t beat me!) uhmmm “mechanically optimizing” the lens body to make a new EF bayonet ring fit better, I ripped this flex cable a second time. Well, well. Yeah, it seems I am constantly causing a big mess just to later feel better when I repaired it again :)
Here a photo just while scratching the traces free under a microscope.
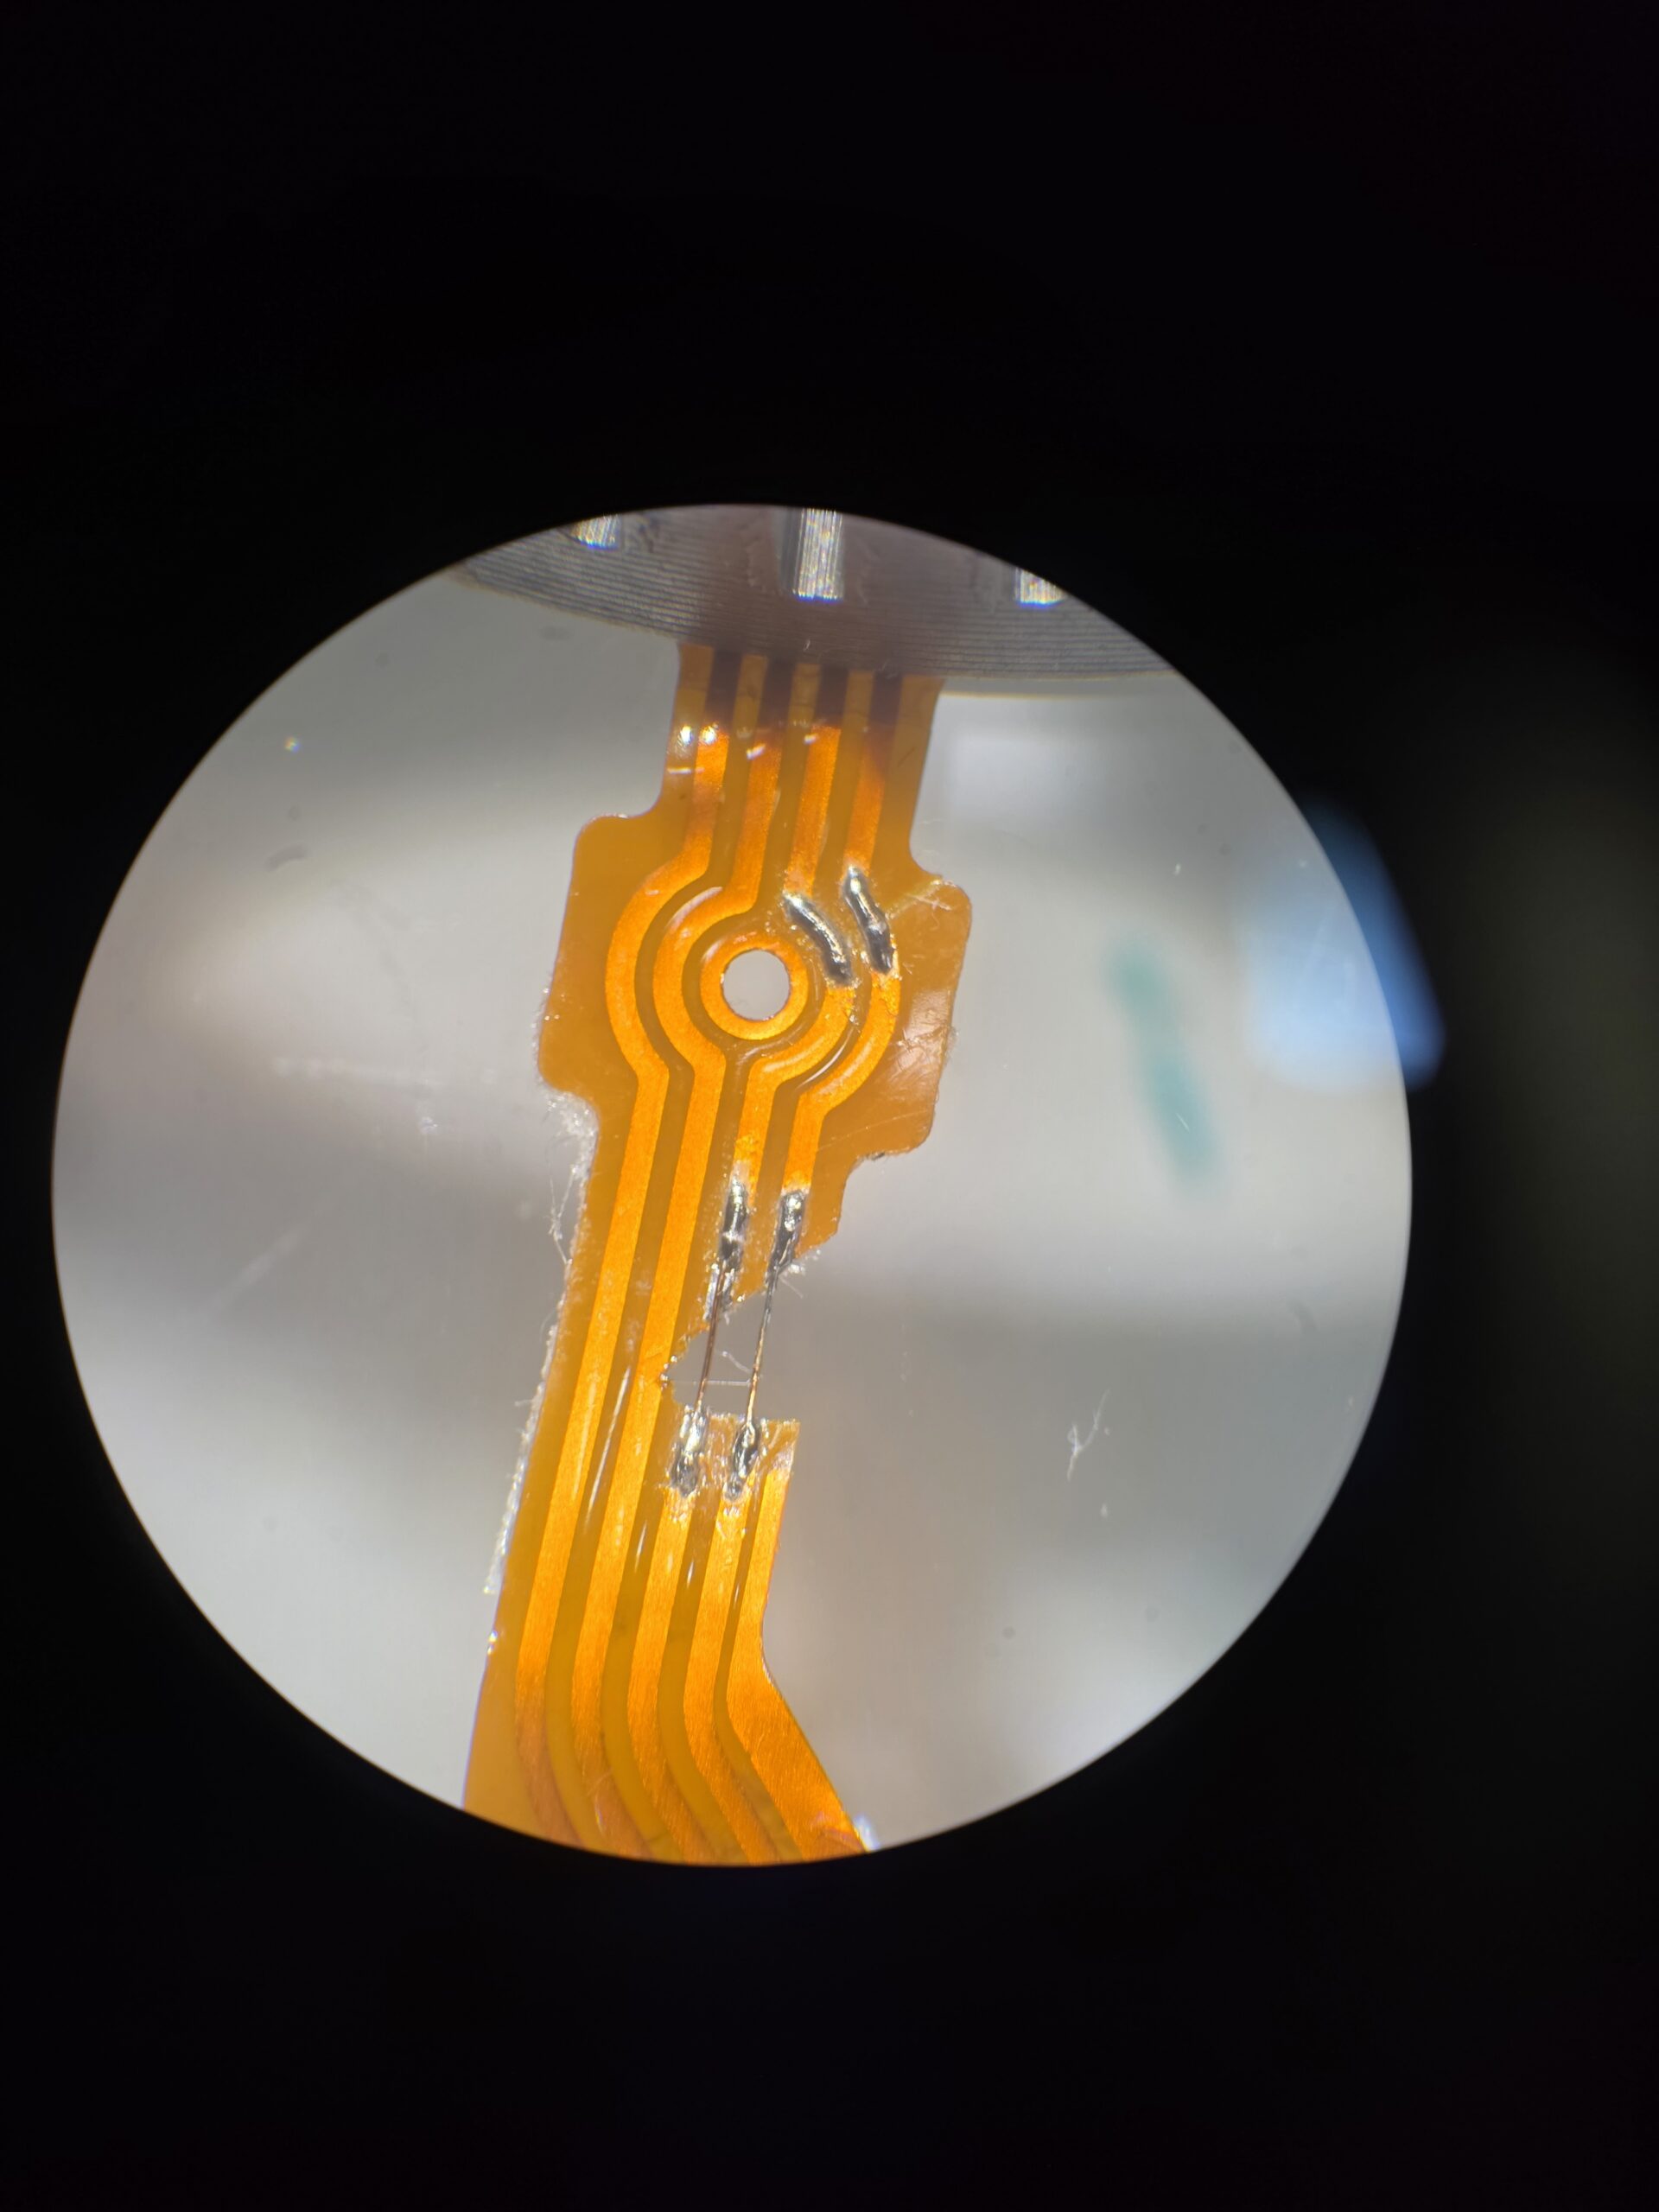
So it’s time for a flex cable repair. Not my first time. Scratch free the trace, put a bit sticky flux there, pre-tin the trace and put a enamel wire in place. Clean it, seal that with kapton tape and finally cut it in shape with a scalpel.
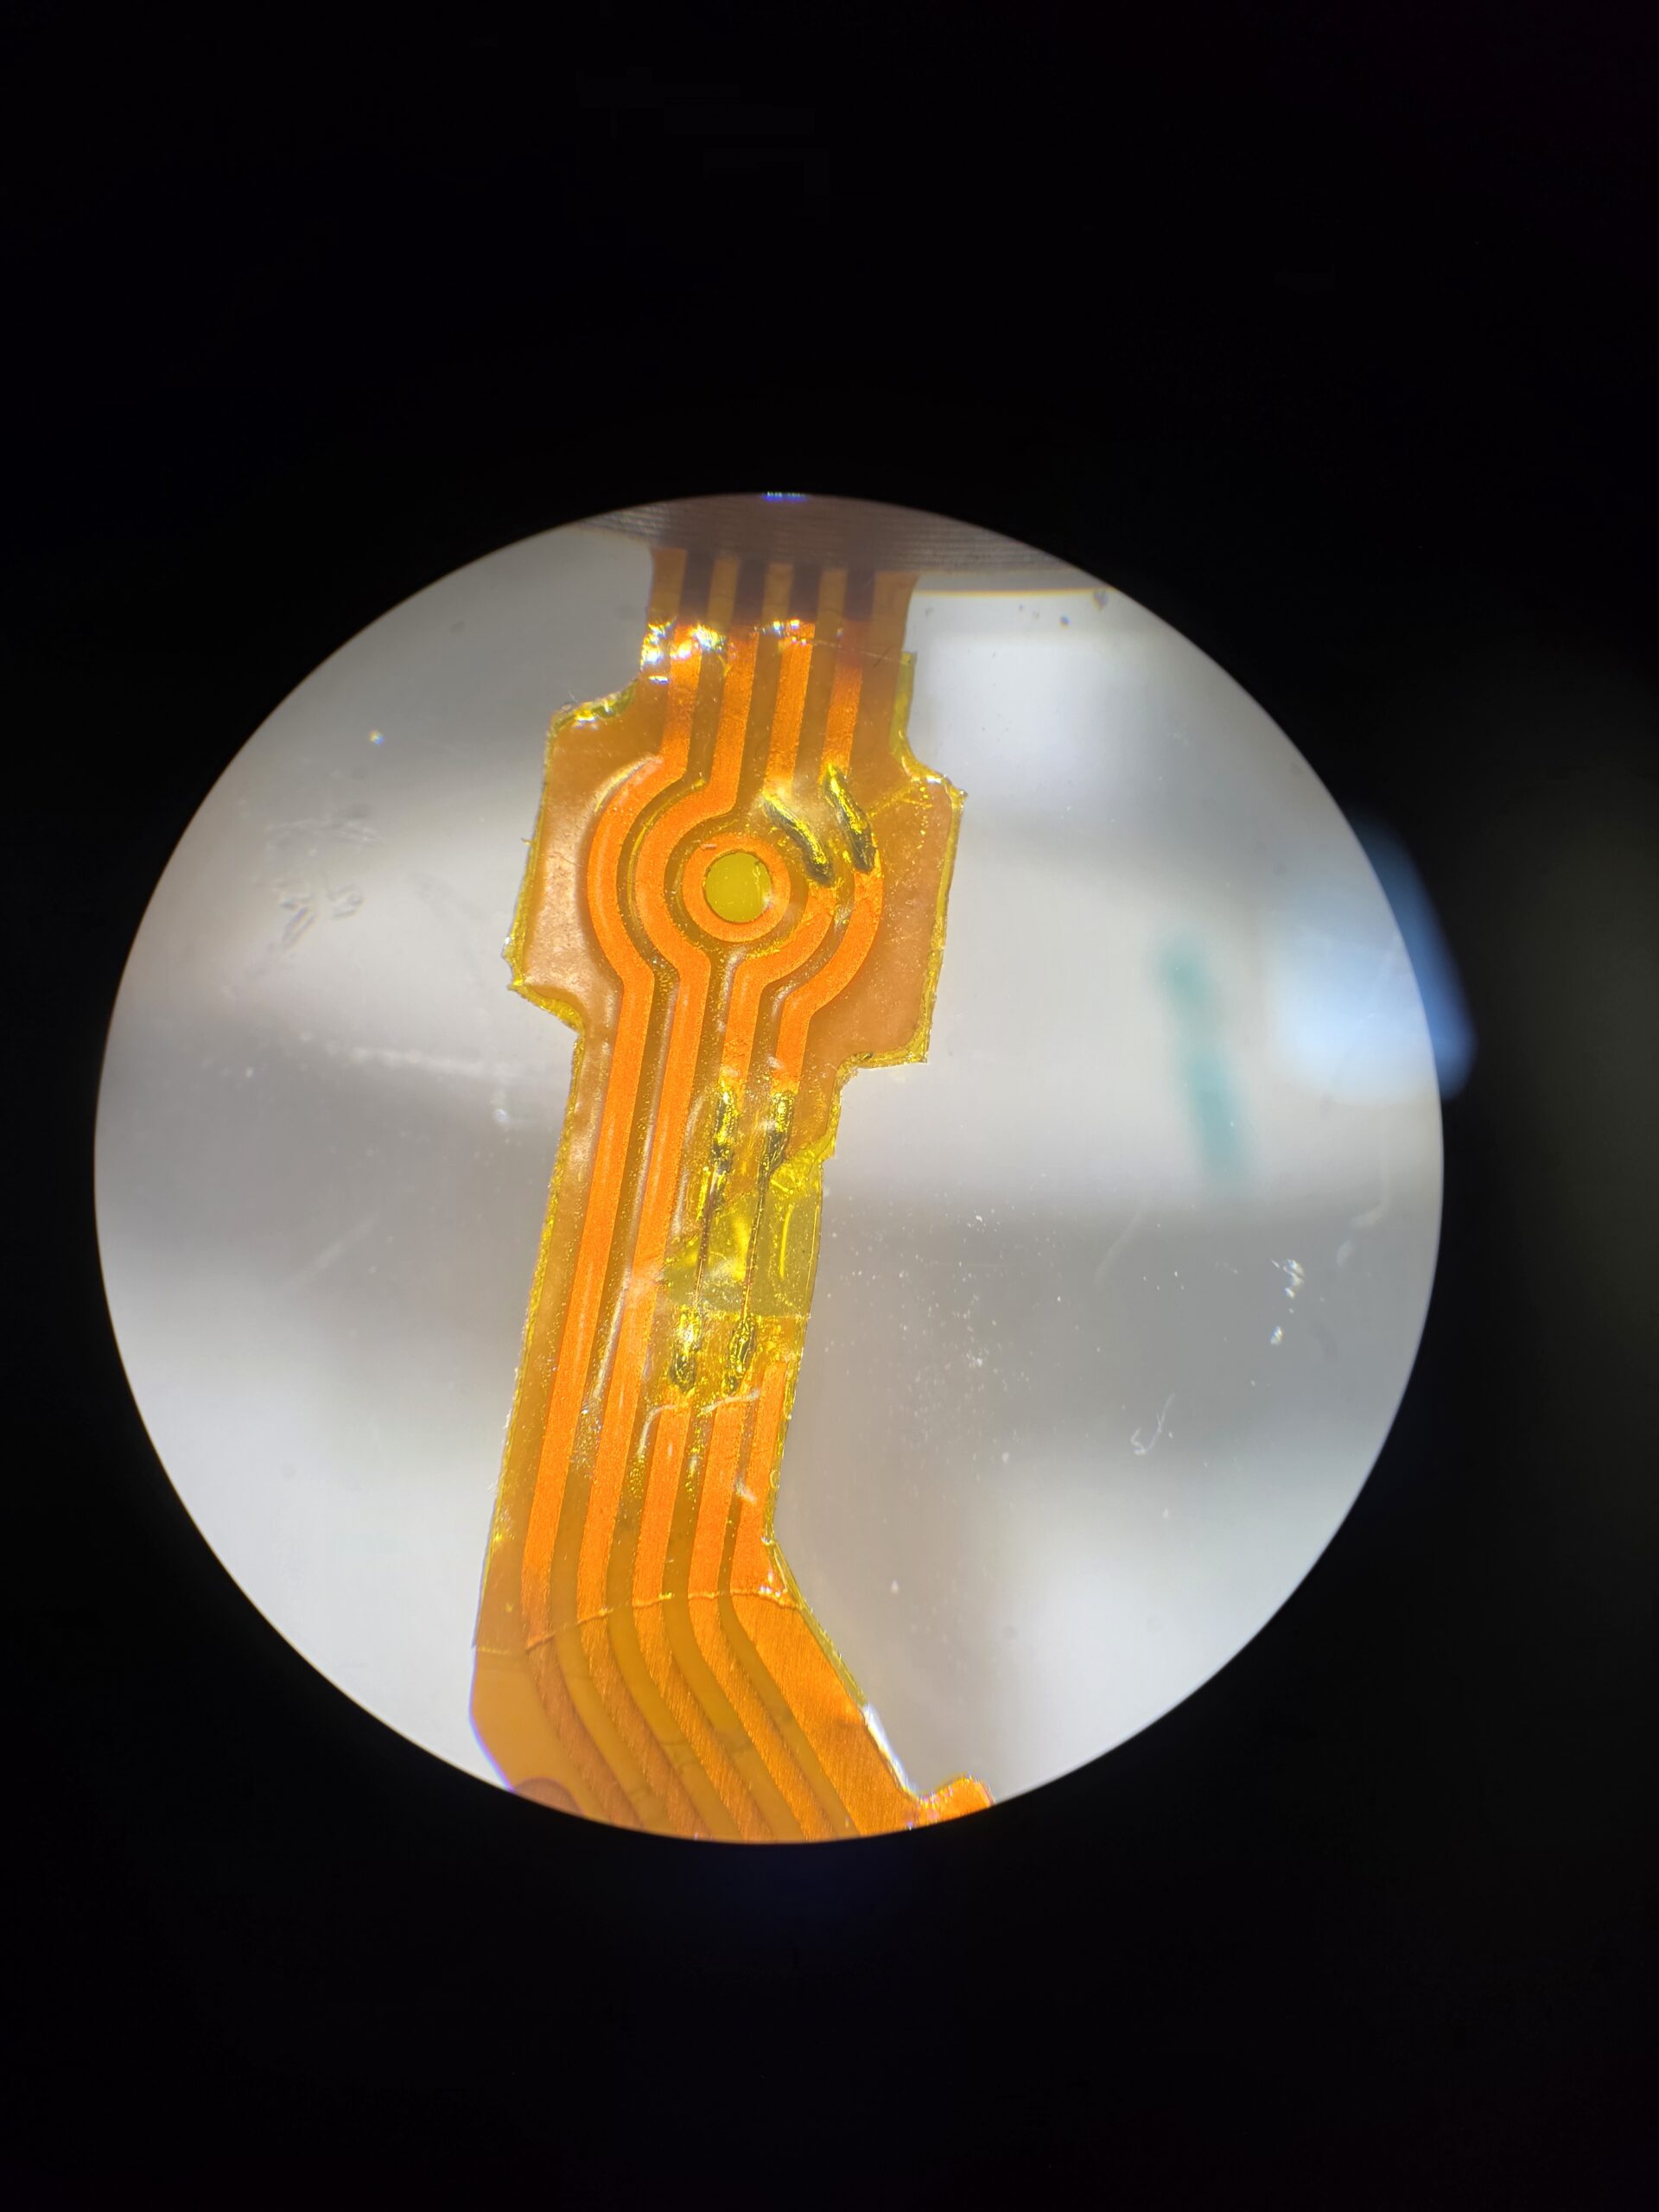
Putting it together shows the USM working in zoom levels below 200mm and the IS to not work at all. The closer I get to 200mm, the harder the USM has to work to get the focus lens to move. A clear sign of mechanical things not playing well. Maybe I just mixed the “short” and “longer” black plastic rollers?
Using my camera body during these trial-and-error dis/assembly sessions seemed a bit too unprofessional, so:
We need a lens tester
Fiddling with camera on desk and pressing focus button on battery, was something I didn’t want to do while trying to repair the lens. So I wanted a proper testing solution.
There are some projects that connect to an EF lens to control the aperture using e.g. arduino, but also a really impressive protocol and lens analysis on the Magic Lantern forum. Back in the days, about 10 years ago, I knew I will need this information somewhen :D
So my goal was kind of simple:
Lens – ESP32 – PC
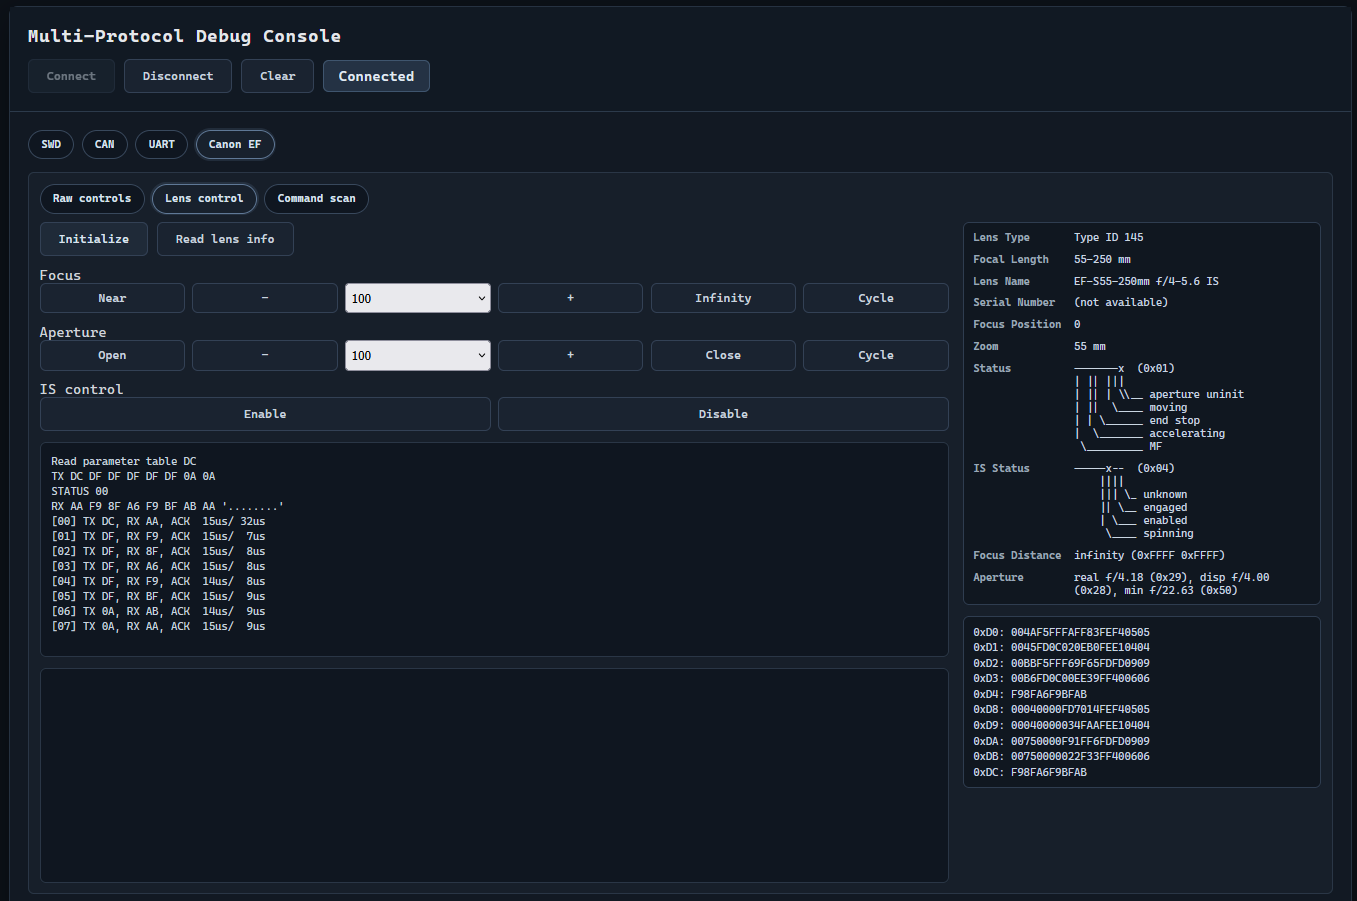
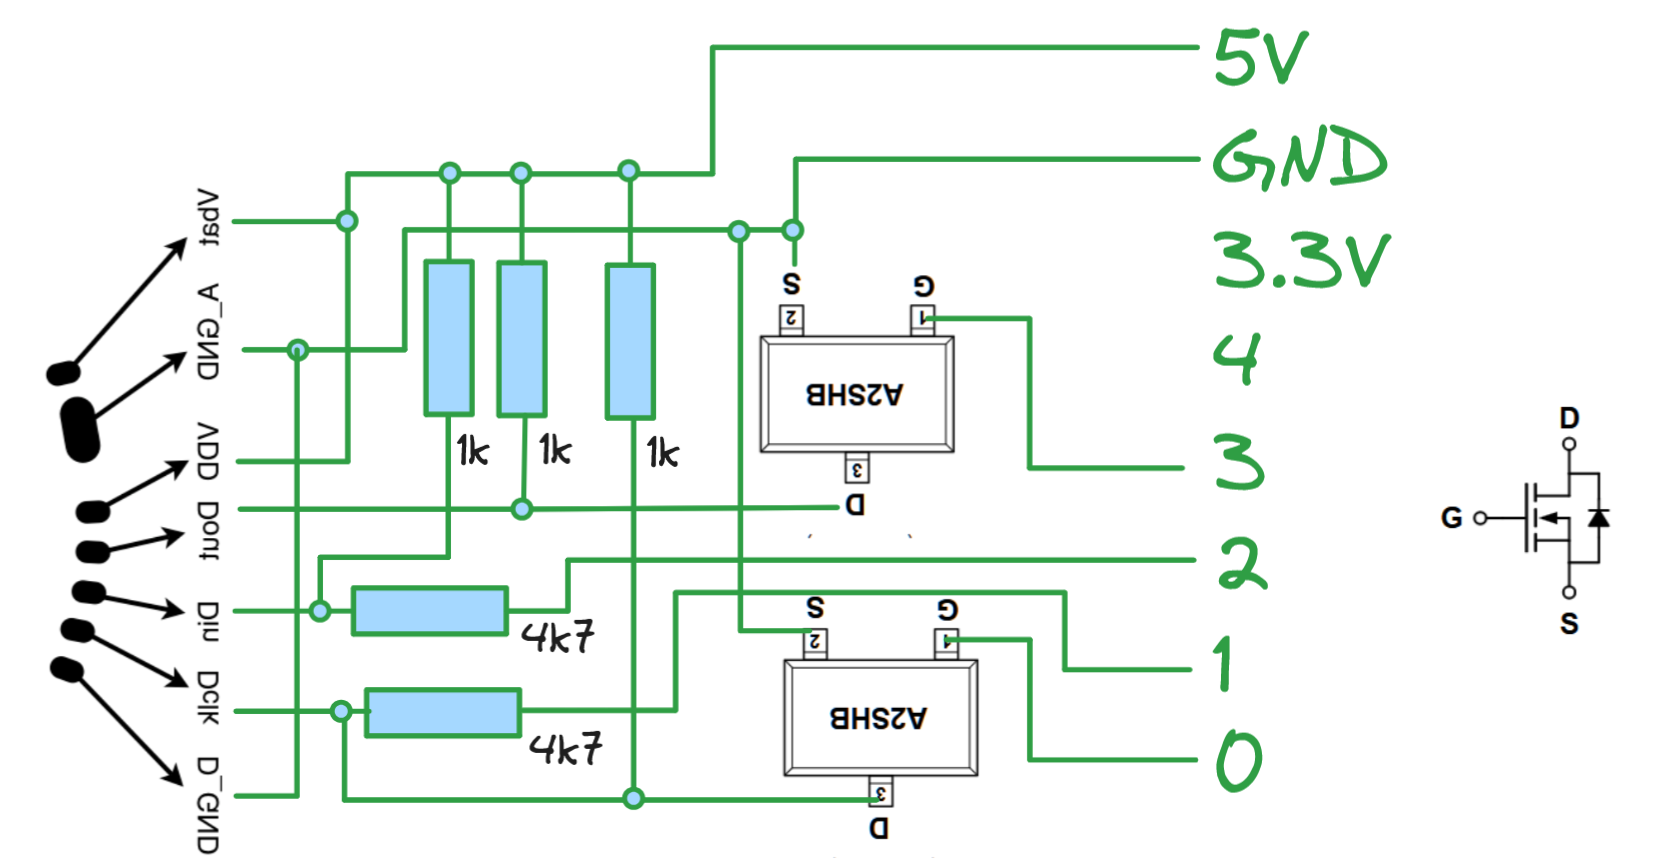
On the PC side, I wanted a WebSerial Utility that instructs the ESP32-C3 to tell the lens e.g. “focus near-infinity-near-infinity-… every second”. And the same for all other features to test around if the lens works as expected.
I used a lot of AI to generate the majority of the code, but manually aligning and fine tuning the nitty-gritty details in the protocol.
The result is an extension to my “ESP32 UART Gateway” which is basically a el-cheapo USB UART with a lot of extras. You can use it to flash your tonieboxes, sniff CAN or do some SWD experiments. Just with an ESP32-C3 and a browser as flashing utility.
On the electrical side here a quick sketch of the schematic I used. the 4k7 resistors are a bit redneck engineering, saving a voltage divider 5V -> 3.3V. You should probably do it a bit more reliable :)
Flasher: here
Protocol tool: here
I will update the post later with some cleaner instructions on how to use. I will update the schematic aswell.
Related Posts
Emulator Handheld – CubeGM ROM List Editor

[ESP32] WebFlasher in ESP-IDF